Lyndon
-
Posts
688 -
Joined
-
Last visited
-
Days Won
1
Content Type
Profiles
Forums
Gallery
Downloads
Blogs
Events
Store
Aircraft
Resources
Tutorials
Articles
Classifieds
Movies
Books
Community Map
Quizzes
Videos Directory
Everything posted by Lyndon
-
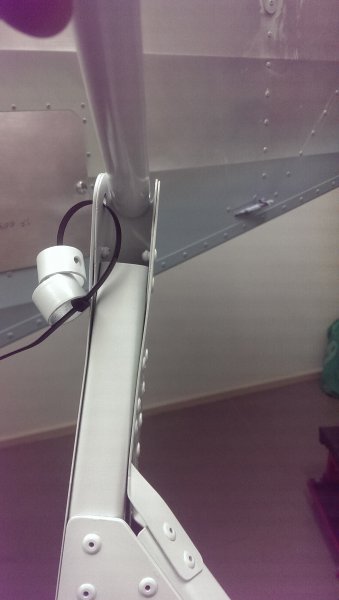
Bolt or bushes question. My flaps rod to the mixer. My manual shows nothing 're this area. Any info would be grateful. It's sloppy so something goes in here. Lyndon

-
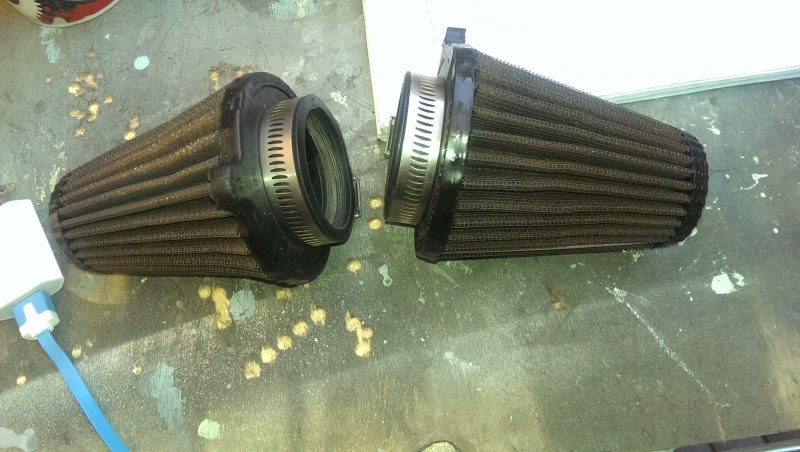
Air cleaners. I have a set of used pods that came with my engine. If some one can use them they are yours to pick up in Adelaide. Or I reckon a post bag at 10 bucks should get them most places in Australia. They are in good nick. No good sitting at my place. Lyndon
-
If it runs I will let you know how it goes
-
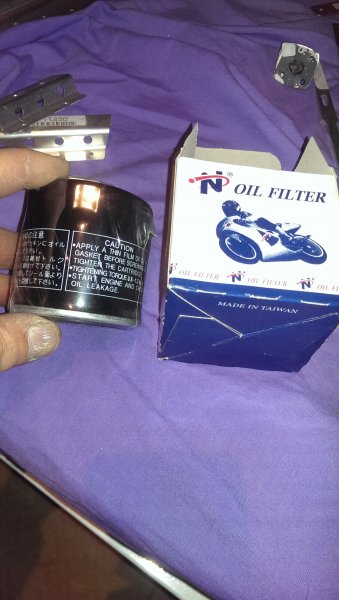
Its a perfectly good oil filter. It's USA made. Meets all the requirements for filtration and oil flow. Look at it the other way. A Rotax oil filter is just a Briggs and Stratton filter. I use a Taiwan made filter for my race bike. It cost under 2 dollars US. It has well over 200 hp. Revs to 15000 rpm. Not only I but just about everyone I know uses them. There has never been an issue. Baldwin make good filters and I'm sure it will be fine. You can see how small the filters are on current 1000 cc super bikes. Lyndon
-
Filter issues. Bugger me my cheap filter was to long for fitting the exhaust. So I found a Short one off a Briggs and Stratton engine.
-
Sorted two hours of looking for a part that doesn't exist. Not required on the later ones apparently. Lyndon
-
I have found the two spacers but definitely no washers that big any where. ??? Lyndon
-
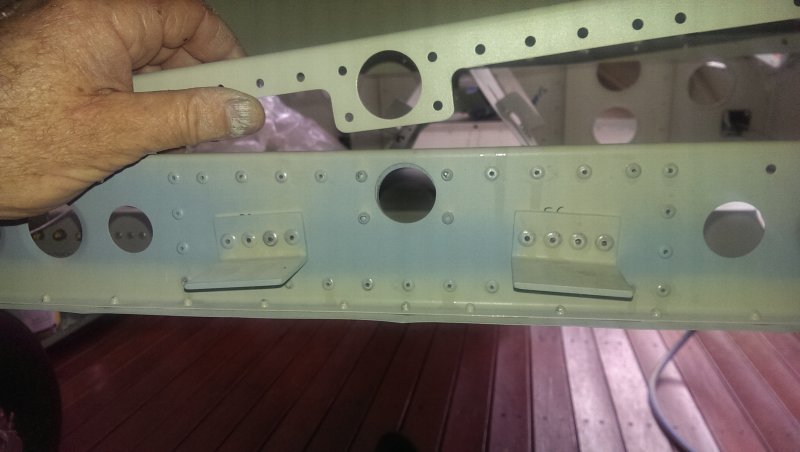
Need some help finding a part. On the mixer there are four washers ( sc127 ) and two spacers ( sc 131 ). They space the bellcranks for the alerons / flaps. I can't seem to find them. Also on the controls it's lists both drilled and non drilled bolts for assembly depending on the manual and the parts list. I'm short of the drilled bolts ???. Thoughts. Lyndon
-
That's an S. A lot different to my flying garden shed. Lyndon
-
Can you post a pic of where they go exactly. Lyndon
-
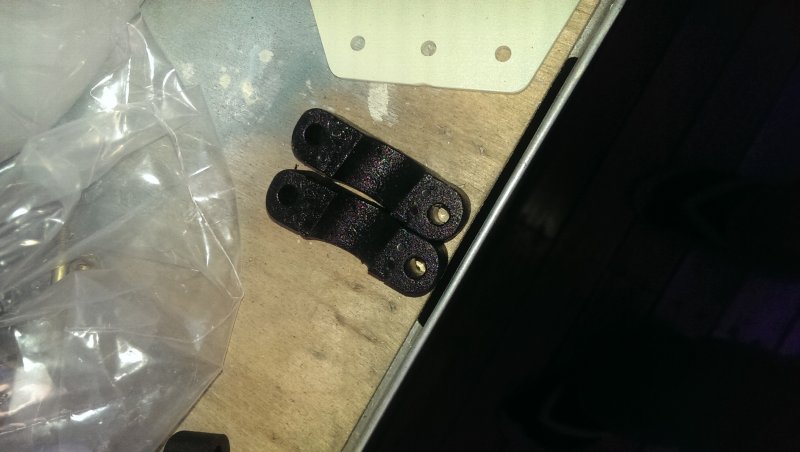
Bushes. I have three left and one right. Anyone know of an alternative. If I drill it it won't be right. ???
-
Thanks
-
Amazing. I still can't find this part anywhere in my manual or parts list. But it's an easy installation. Thanks Lyndon
-
Will have a look. I hope I don't have to pull my plane apart to fit it. Thanks Lyndon
-
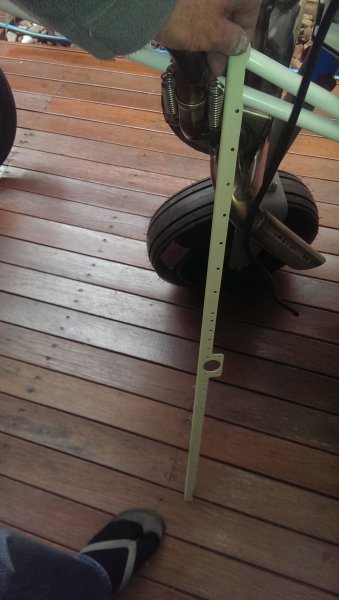
Part WTF. I'm sure it goes somewhere but I can't find it in my manual. Sf024. Any ideas ??? Got to go somewhere in the control stick I'm sure Lyndon
-
Propeller choice. I have spoken to the guys at bolly. They are local to me. Two choices, a cheaper heavier prop for about 1250 or a lighter one for about 1750. I have zero experience with props but things that turn it's always nice to be light ???. I'm at this stage going for the large diameter one. Thoughts from those who have be there and done that. Lyndon
-
Looks very neat. I have ordered some. Lyndon
-
Great will do that. Lyndon
-
And your happy with the outcome. Lyndon
-
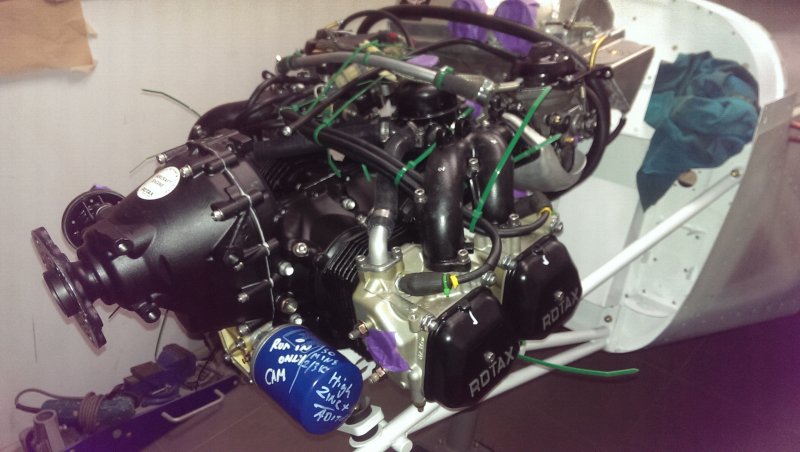
the lower coolant hoses very close to the exhaust. Which is the way to go. Heat shield the hoses with sleeves or wrap the exhaust pipes. Any experience of what works best ??? Lyndon
-
Great thanks a lot. Lyndon
-
Thanks for that. Lock or plain washers ??. Lyndon
-
Engine mount questions. I bought this Engine used and it came with a bracket mounted to the engine and then that screwed to the box. Eg they just put my used engine in the box the replacement engine came in. I have no info 're torque values or what bolts to use or washers or loctite etc. It came with four black set screws that look like what is used from pics I see in my manual. Any info would be great. Thanks Lyndon
-
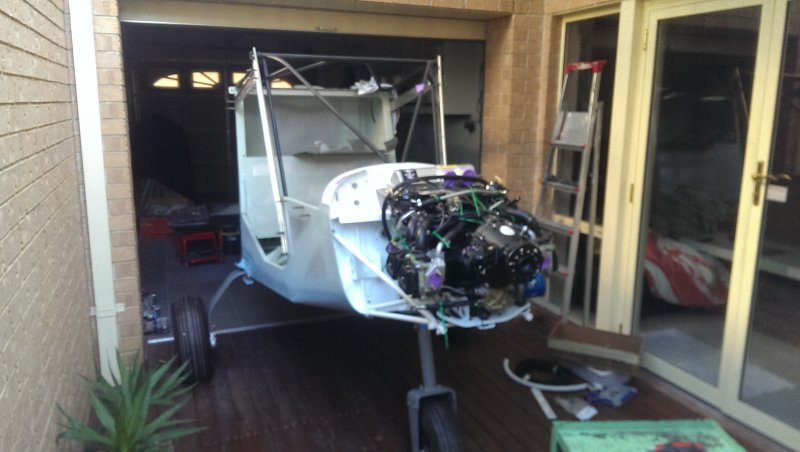
Yes I do. Makes sense. Engine is in. Feel like I'm making progress
-
Thanks. Lyndon