Kyle Communications
-
Posts
6,717 -
Joined
-
Last visited
-
Days Won
102
Content Type
Profiles
Forums
Gallery
Downloads
Blogs
Events
Store
Aircraft
Resources
Tutorials
Articles
Classifieds
Movies
Books
Community Map
Quizzes
Videos Directory
Everything posted by Kyle Communications
-
 Apen I am not saying its all your fault...but good Airmanship you would have known he was there and made a early choice to delay your circuit or go around. I dont know what you heard or what you saw but to be honest thinking you have the right of way no matter what the circumstances is a false idea. Its no different when driving on the road...I have the right of way and I am going to drive straight into the accident I dont care ...thats what I am saying. You should always be ready to modify any approach or plan at any time. Crying about it after the fact is of course up to you and how you do that is totally up to you and your right but its a bit hard to do when your in a burning hunk of wreckage at the end of the strip. Sorry to be blunt about this but it is 100% up to you to take all factors into consideration before you make any decisions. Sometimes shit happens and well thats the luck of the draw and out of your hands and then its up to the authorites to apportion blame
 -
All I can tell you is the current committee that basically was elected back in 2019 is very different to the one that was there for about 10 years before. We take reports very seriously and have a sub committee called FSAG that look into every single report we get and investigate it and report back. We take this very seriously.
-
Its like when you are driving..maybe its a older generation thing..you treat everyone else on the road like an idiot. Car driving is only 2 dimensional so you really are driving with your eyes and you drive to what you see. Flying of course is 3 dimensional but you have the advantage of a additional sensor...hearing. So you take those inputs and use them to create a mental picture of what is around you. You then take any action required whether you are in the circuit of not to take any evasion action necessary to keep yourself safe whether you think you have right of way or not. If someone wants to cut in front of you or not. Right of way in the circuit is about 10% of what take into consideration. 90% is keeping you and everyone else safe because that 3rd dimension is the bit that will kill you every time. I dont care who it is or what it is my priority is to make sure I can come back home to my loved ones. So my spidey senses are at max when I fly but my job is to keep me and pax and anyone else safe no matter what the situation is...that is airmanship
-
Airmanship
-
Since I have been on the committee I have never seen any reports about tug ops..before that I can not comment. As far as the tug aircraft being next to you well that goes to how you fly. The tug ops are very standard and well known. They use the far left outside the runway area on the grass next to the trees. The tugs do a very short circuit and always have. Many times I have come in with the tug landing off to my left. You obviously didnt hear the tug radio calls and adjust your circuit or approach accordingly. I would put this down to your inexperience. The tug pilots at Ycab have much more experience than you or me in circuits and landings. Its up to you to maintain your own clearances by situational awareness by your eyes and the radio calls. I have no doubt he would have called before you and knowing how they operate then it would be up to you to maintain your own clearance that makes you comfortable. Thats called airmanship. This is my opinion and in no way reflects the Ycab committee opinions
-
Radio is a big problem at Ycab for all the reasons mentioned before. Redcliffe is on a different freq and I reckon at least half of the aircraft call on the redcliffe freq when they are transiting our airspace. CASA flatly refused the freq change. The issue is pilots NOT reading the Ops manual and letting it sink in. If Caloundra were on their own frequency that would make 3 different radio frequencies within maybe 35 nm. Thats fine provided everyone sticks to the 10nm radius and actually changes to the frequency they are supposed to be on but it seems 50% of the pilots cant seem to do that and you play kamakazi regularly especially around Toorbul and Donny brook as both Caloundra and Redcliffe aircraft use that as a transit all the time. It all goes to education but the issue I see is most of the offenders dont seem to care for abiding by strict ops rules in others airspace or even their own. As I said Airmanship has gone down the toilet. APen How about you go back and read what I said. ...Since I have been on the committe since Dec 2019 (sorry it seemed longer due to all the other reports and jobs we do on the committee with the 4hr meeting every month) There has NOT been one complaint about tug operations. I have not missed one committee meeting so thats about 30 meetings I have attended. Plenty of other reports of near misses and stupidity and complaints by other pilots though in that time plus noise complaints. People may not realise it but Ycab has around 200 plus landings and takeoffs a day and I can confirm those numbers as I record every single radio transmission at the airfield as a log
-
I will take that to the next meeting..its a good idea
-
My Savannah S model rebuild Blog
Kyle Communications replied to Kyle Communications's topic in Savannah
All the pots are no good..it only runs at full power you cant adjust it. Its about 14 years old now. I didnt have it for a long time my mate had it but he hadnt used it for about 2 years and when i got it back it had these issues. it is a good tig. But I dont have the time to go through it so just bought a new one. I will get to having a look at it when I get the time. But I have a lot of tig work to do on these throttle kits so needed to just make it happen -
Well everyone who flys at Ycab flys with the gliders as they stay out of the way of aircraft flying the main circuit pattern. They fly a different pattern. I have been flying there since 2010 and I have only been on the committee since xmas 2019 so I can tell you since then there is not one report about any tug operations. Considering they fly a lot of ops 3 days a week and in the busy times like fri,sat and sundays also changing ends and runways when the wind changes. This may tell you something I can only tell you what I see and what is reported. I have my own opinions on the subject and it was a major discussion about airmanship at the last meeting in fact and what we can do to try to get things back on track.
-
All I can say is I am now seeing far more poor airmanship on airfields now. It wasnt like that 10 years ago. I am pretty sure it just isnt associated with my home airfield
-
My Savannah S model rebuild Blog
Kyle Communications replied to Kyle Communications's topic in Savannah
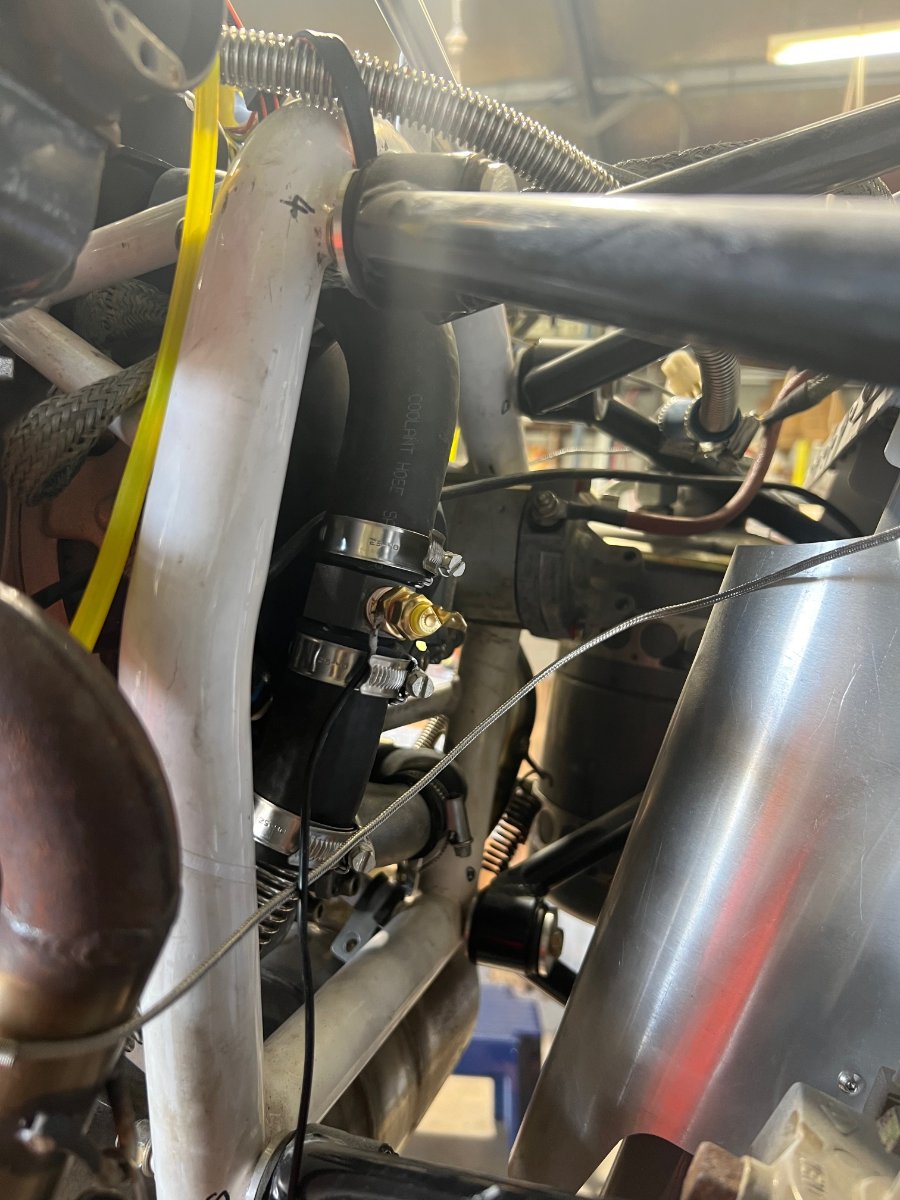
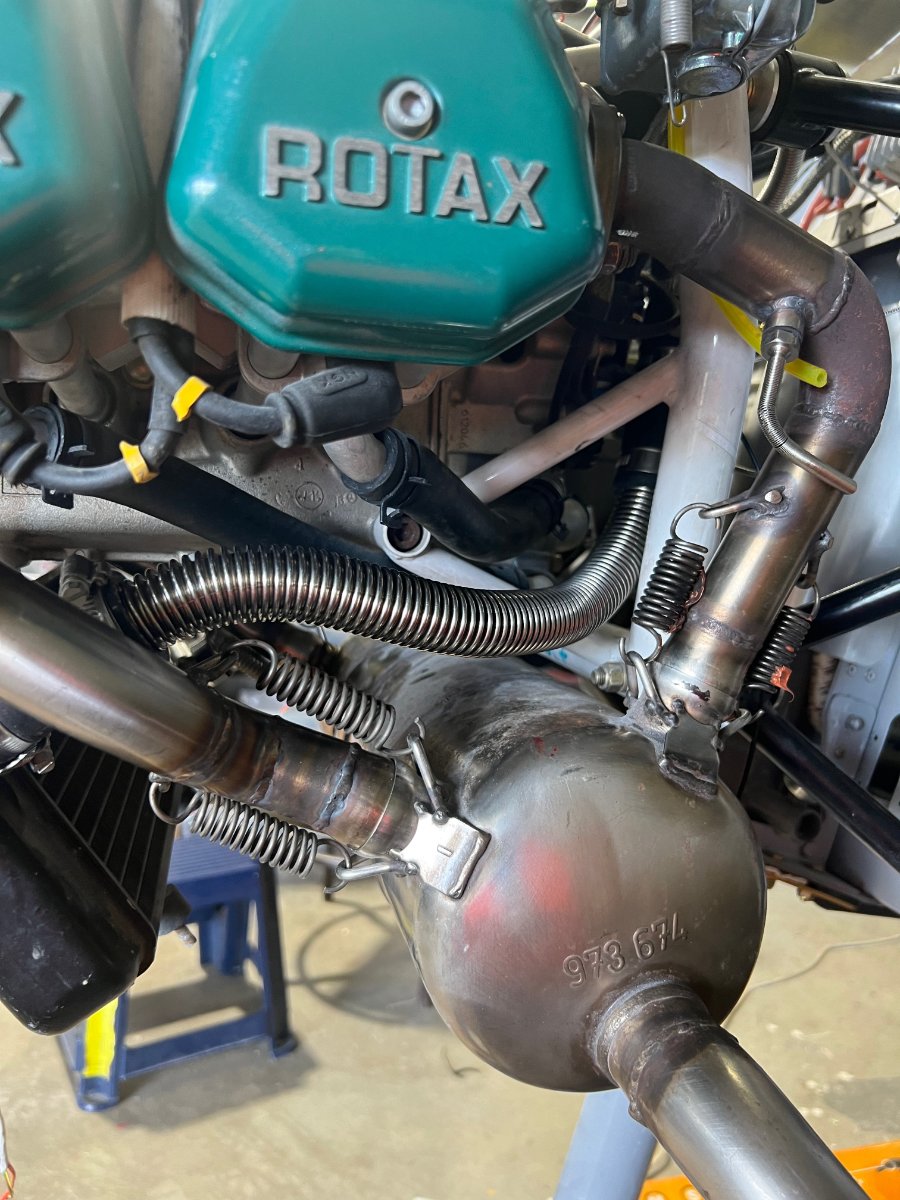
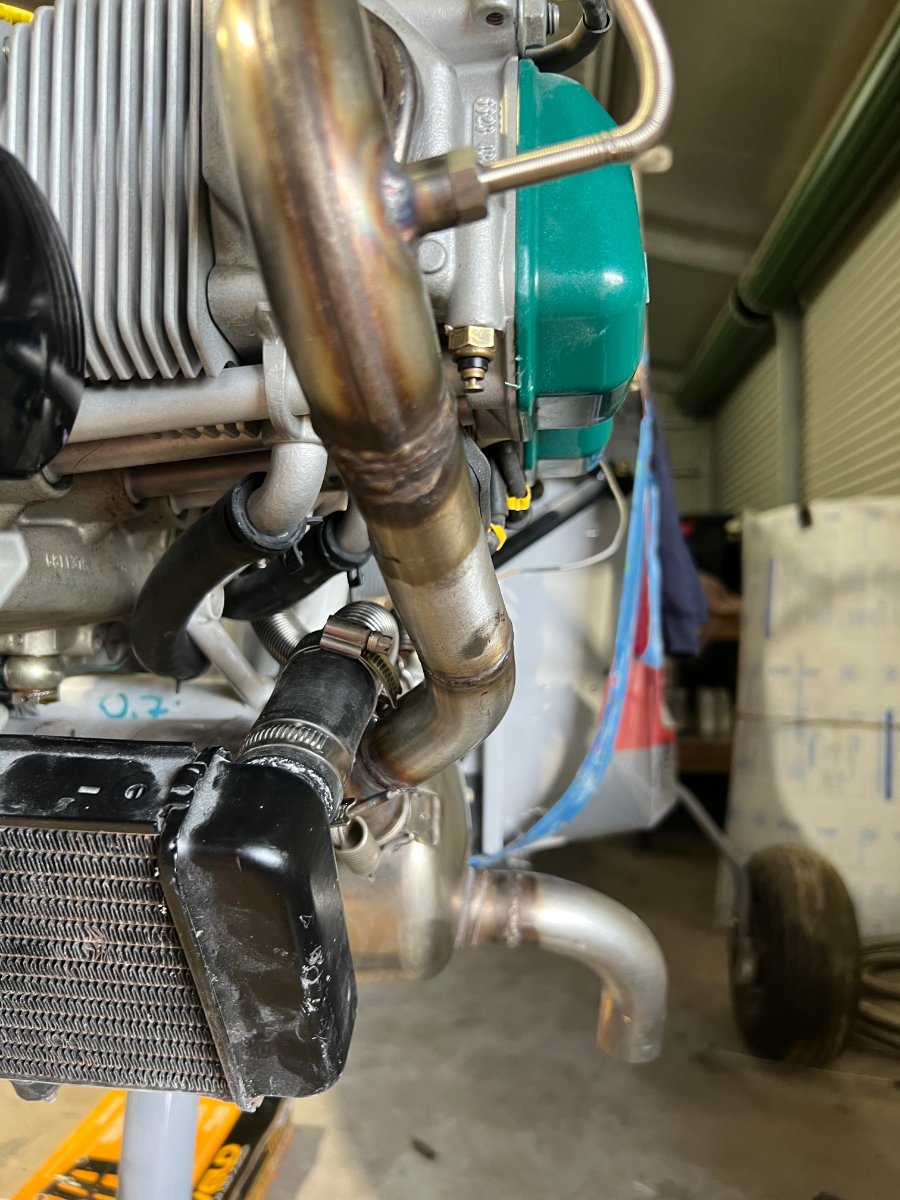
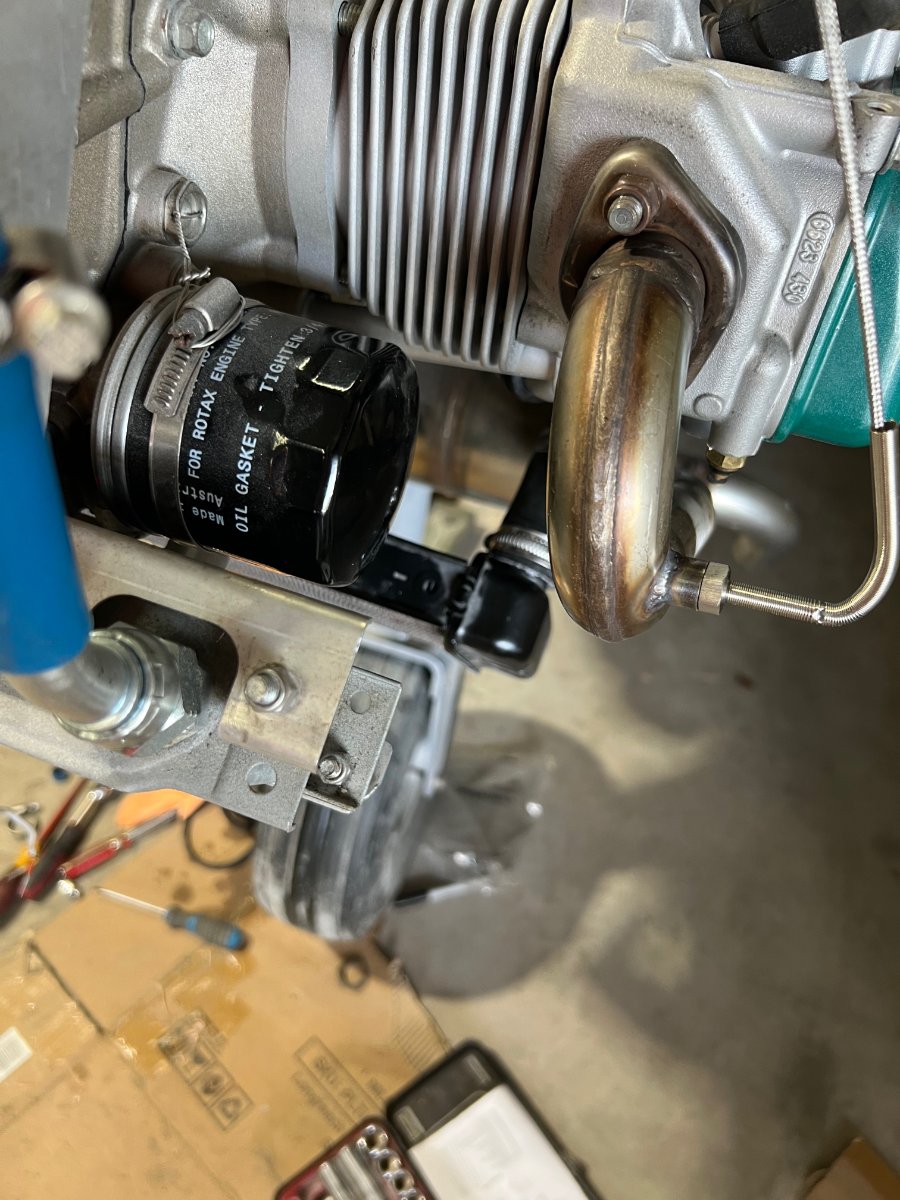
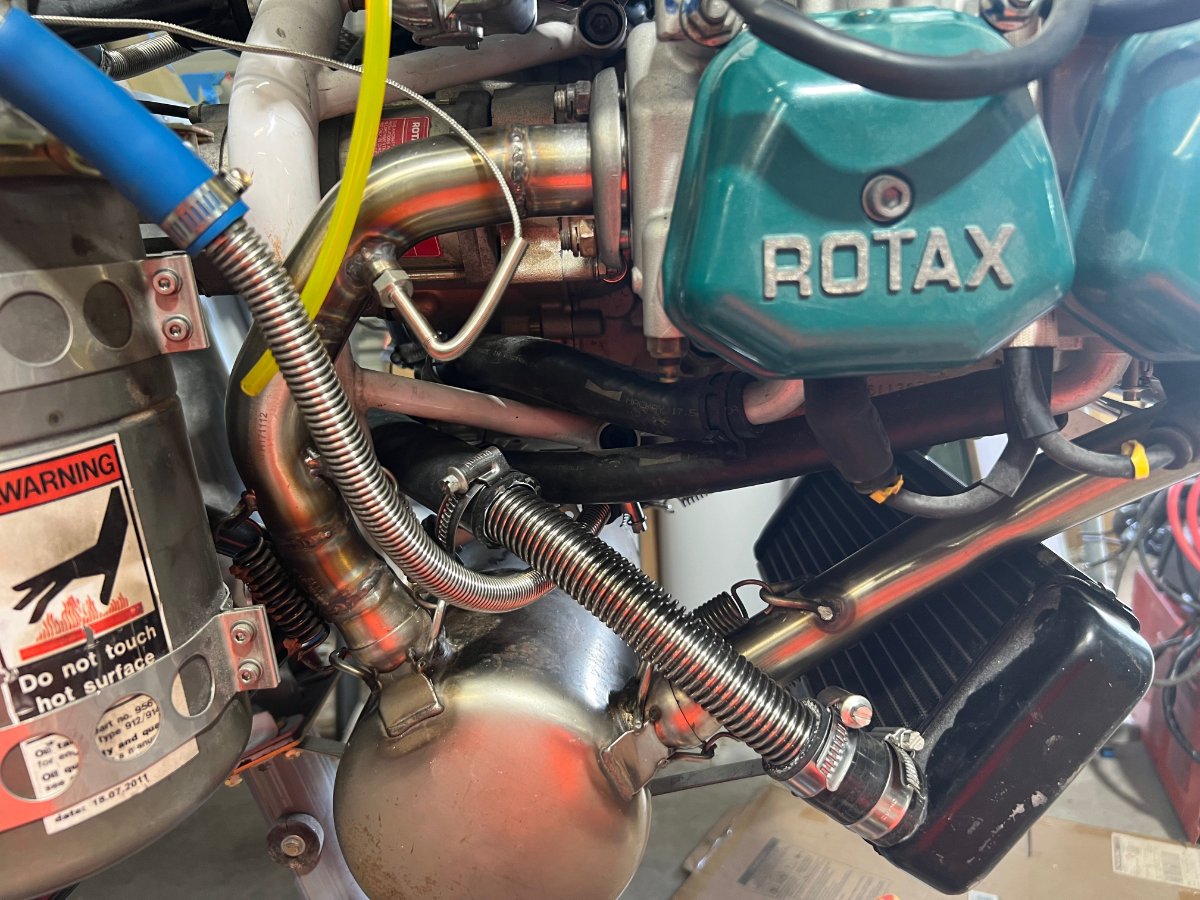
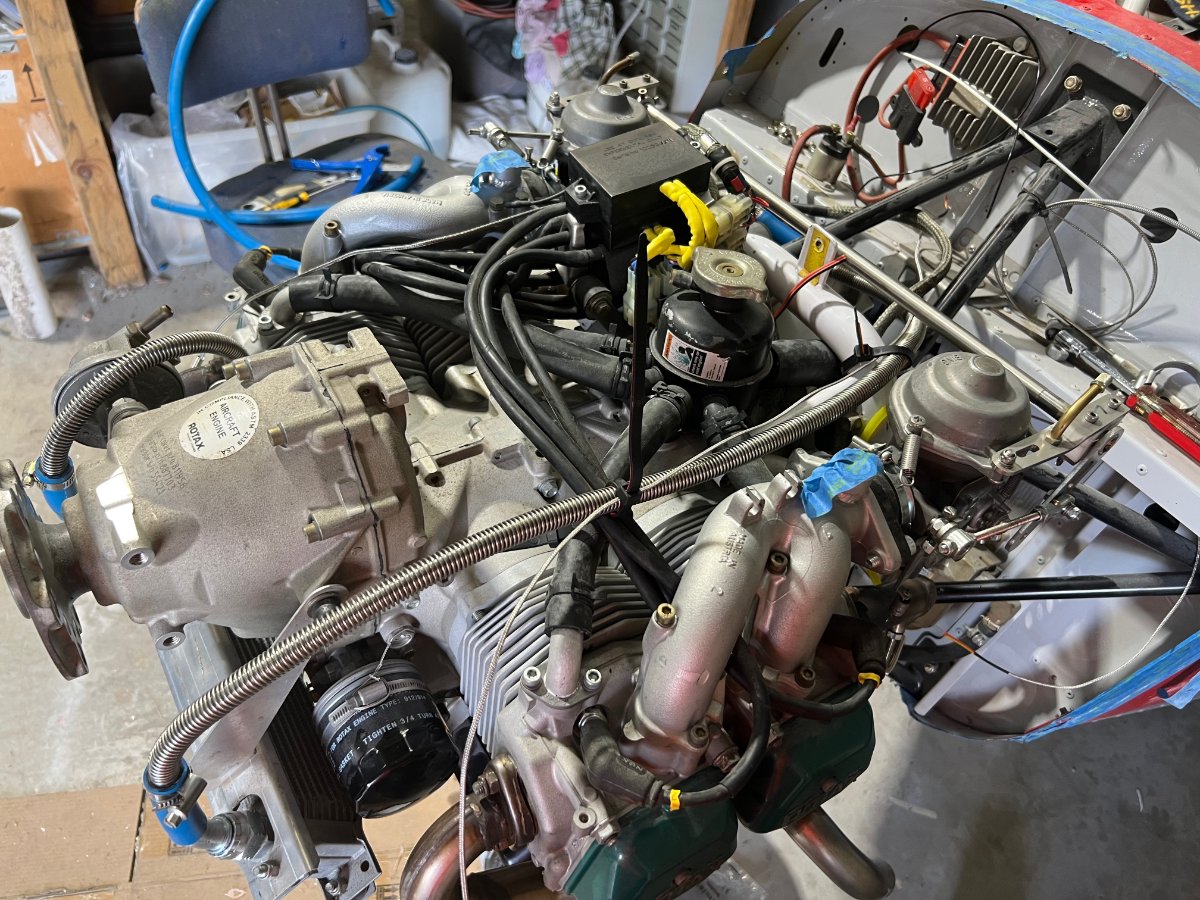
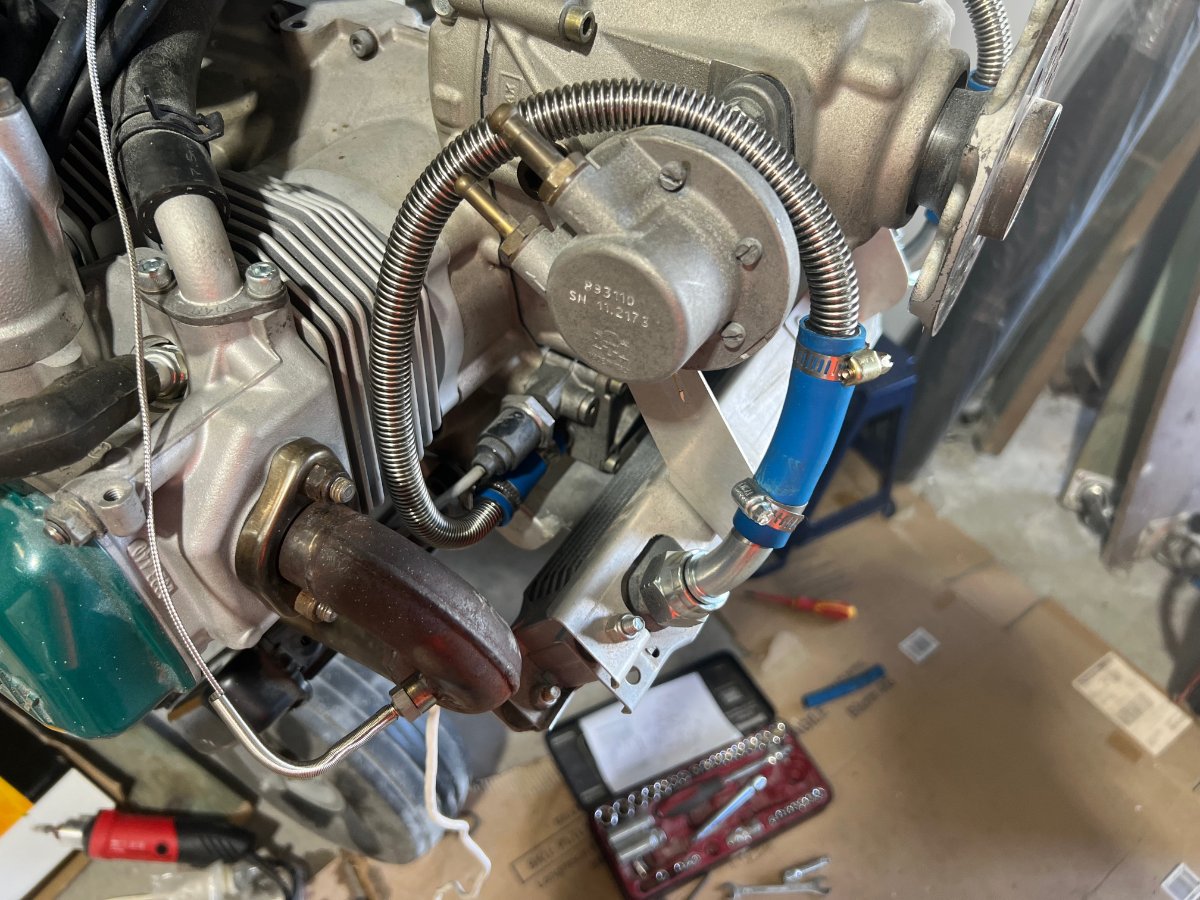
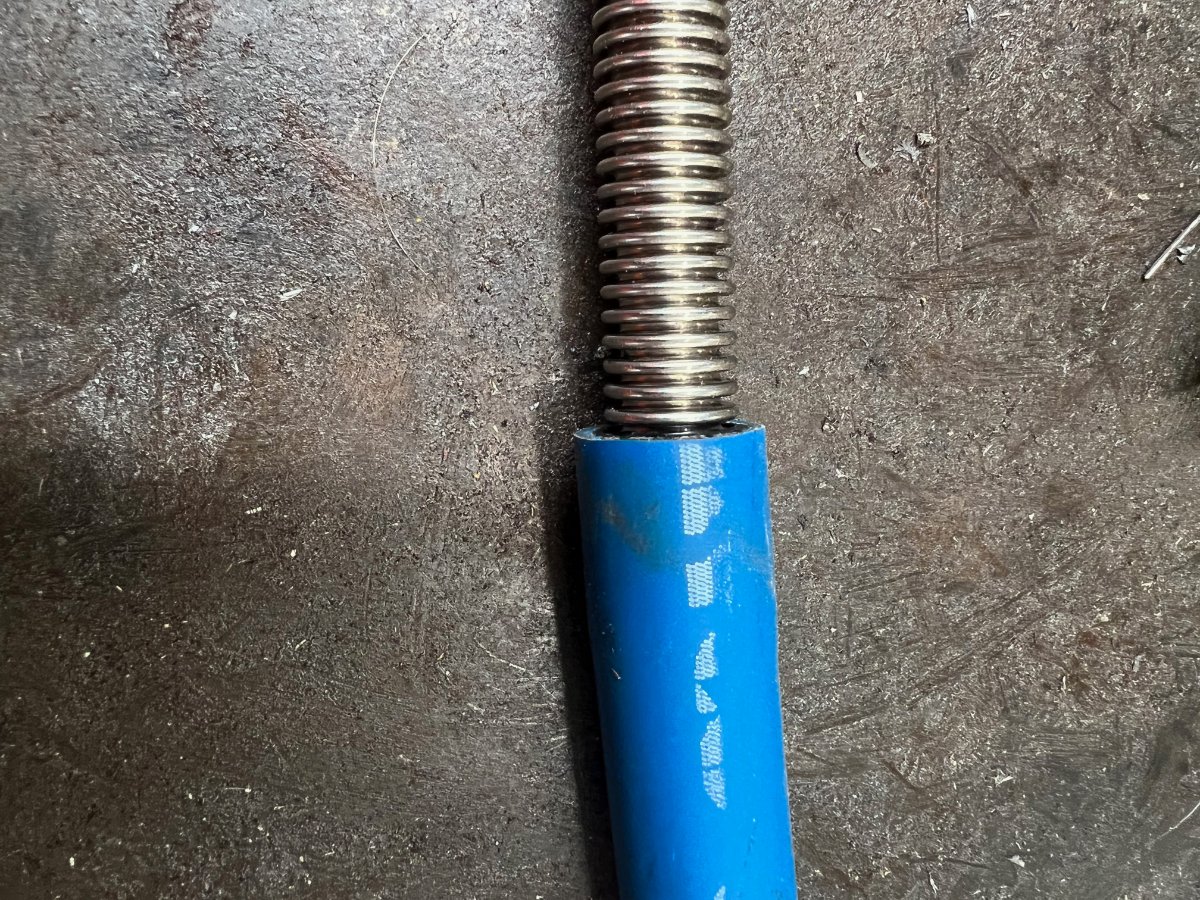
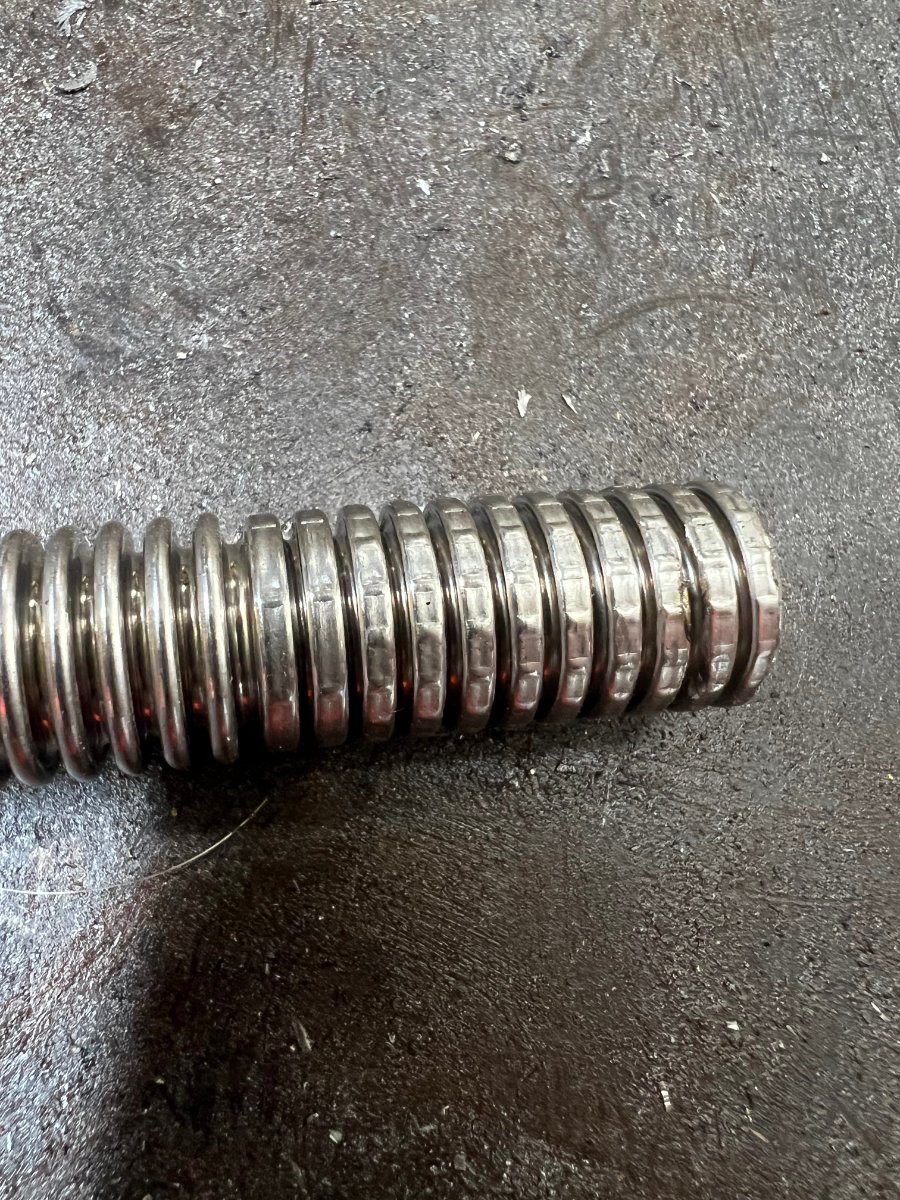
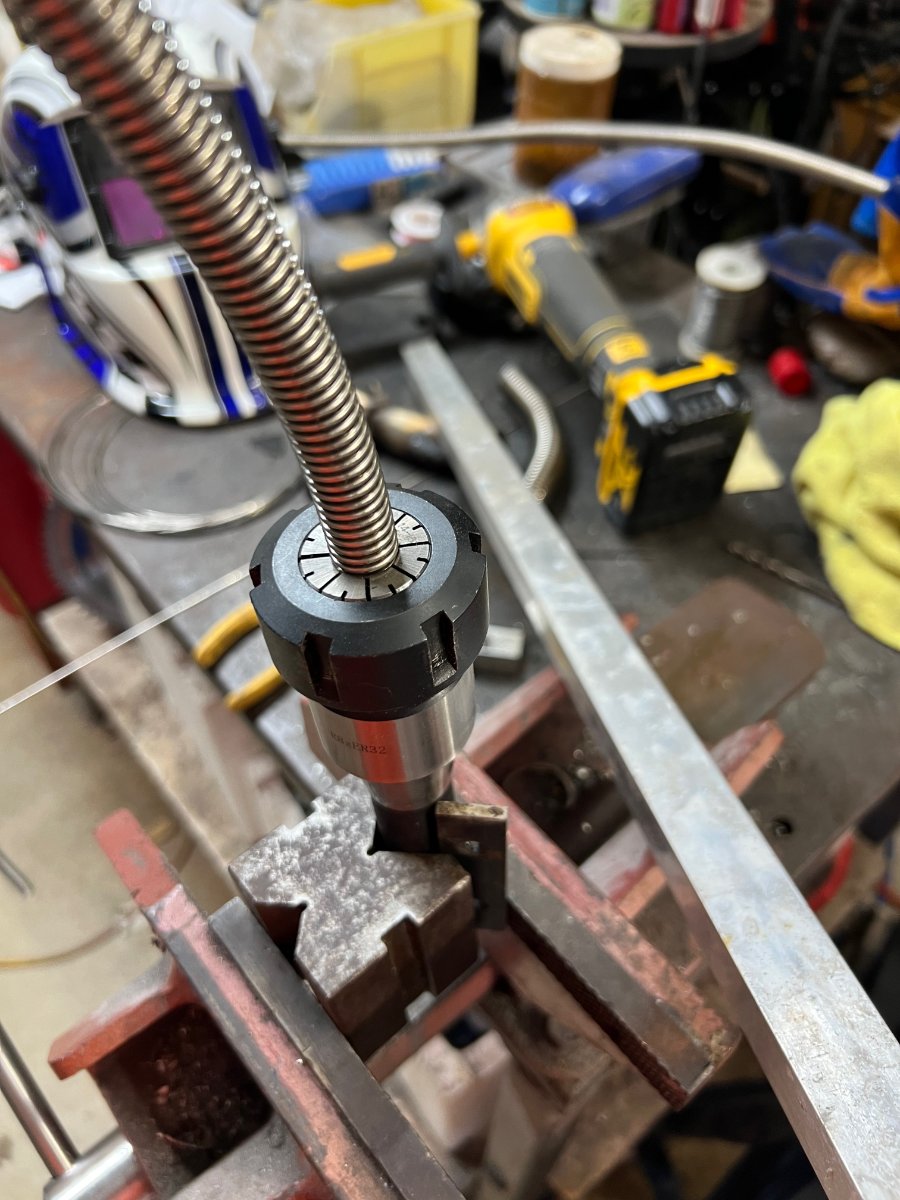
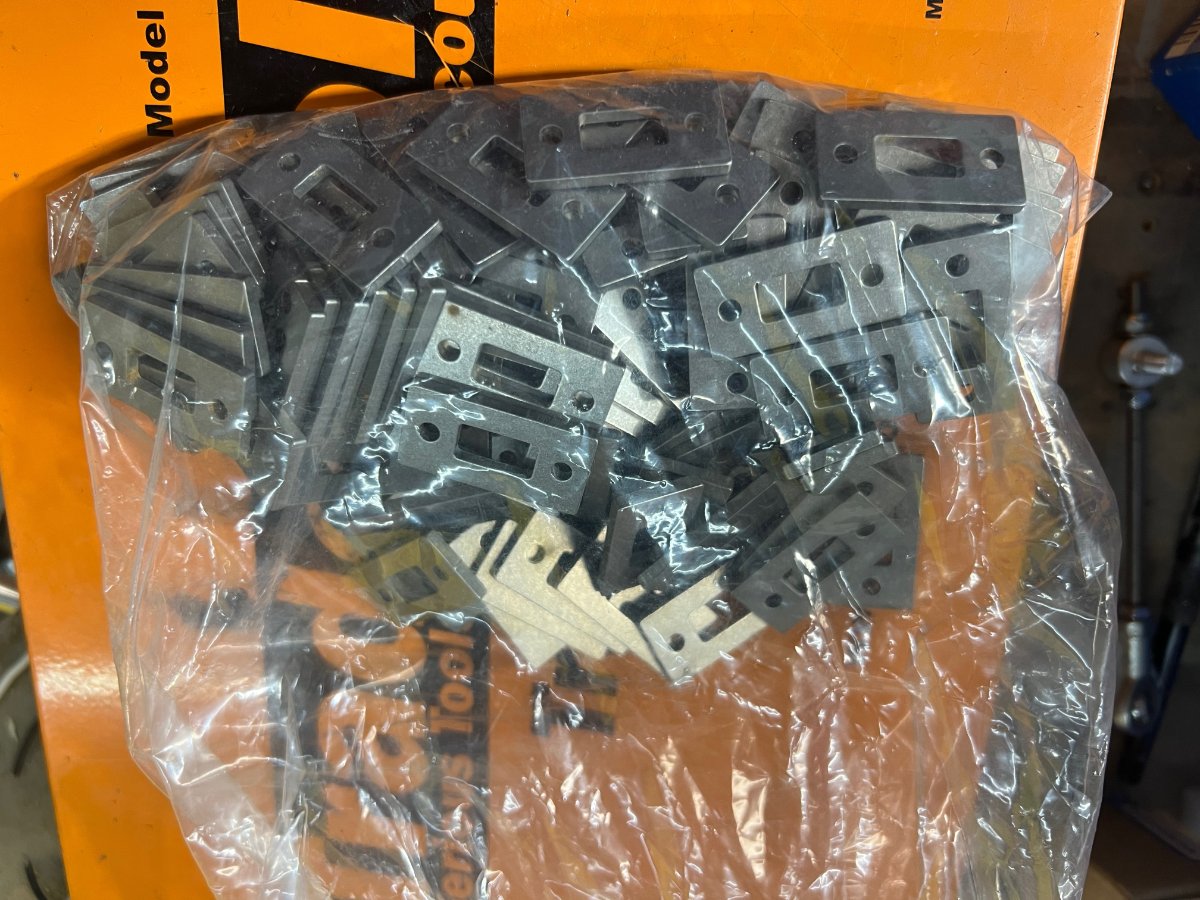
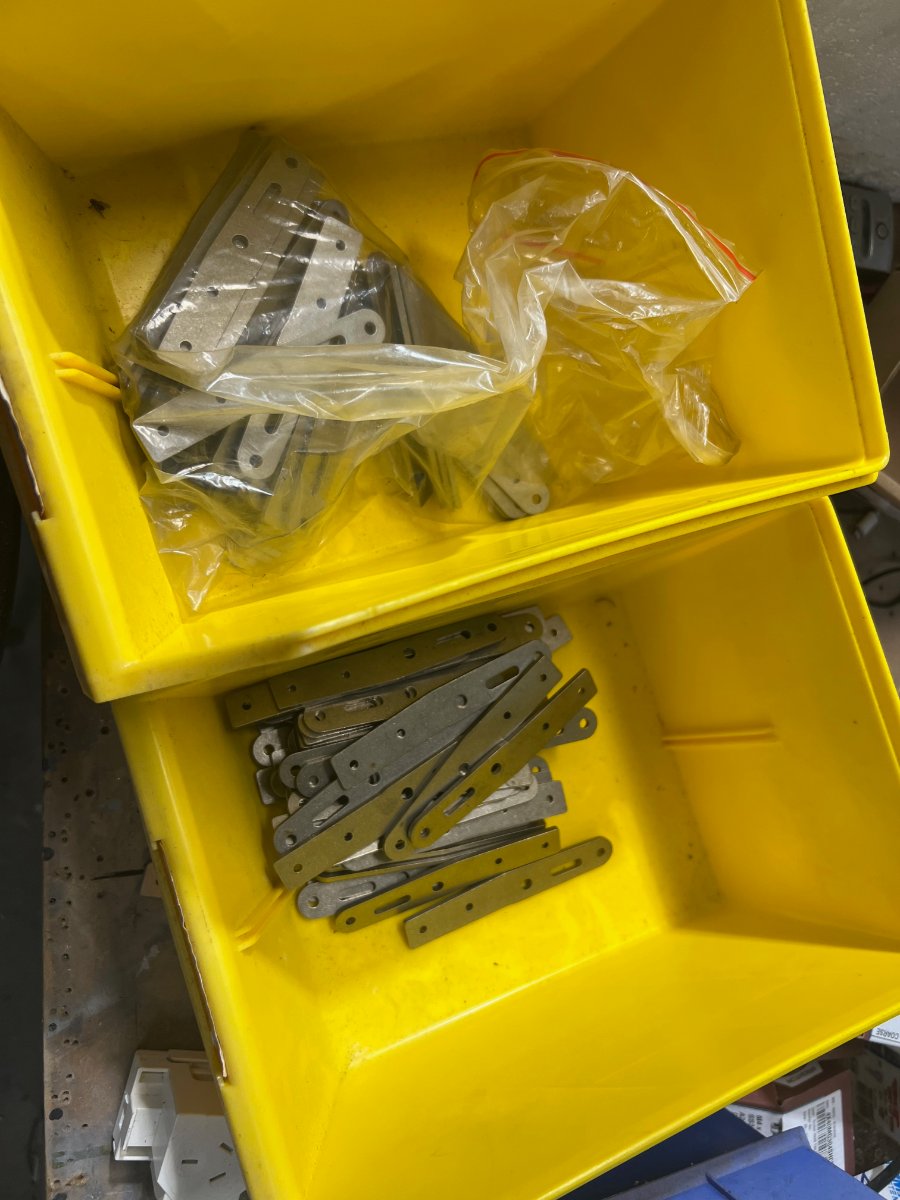
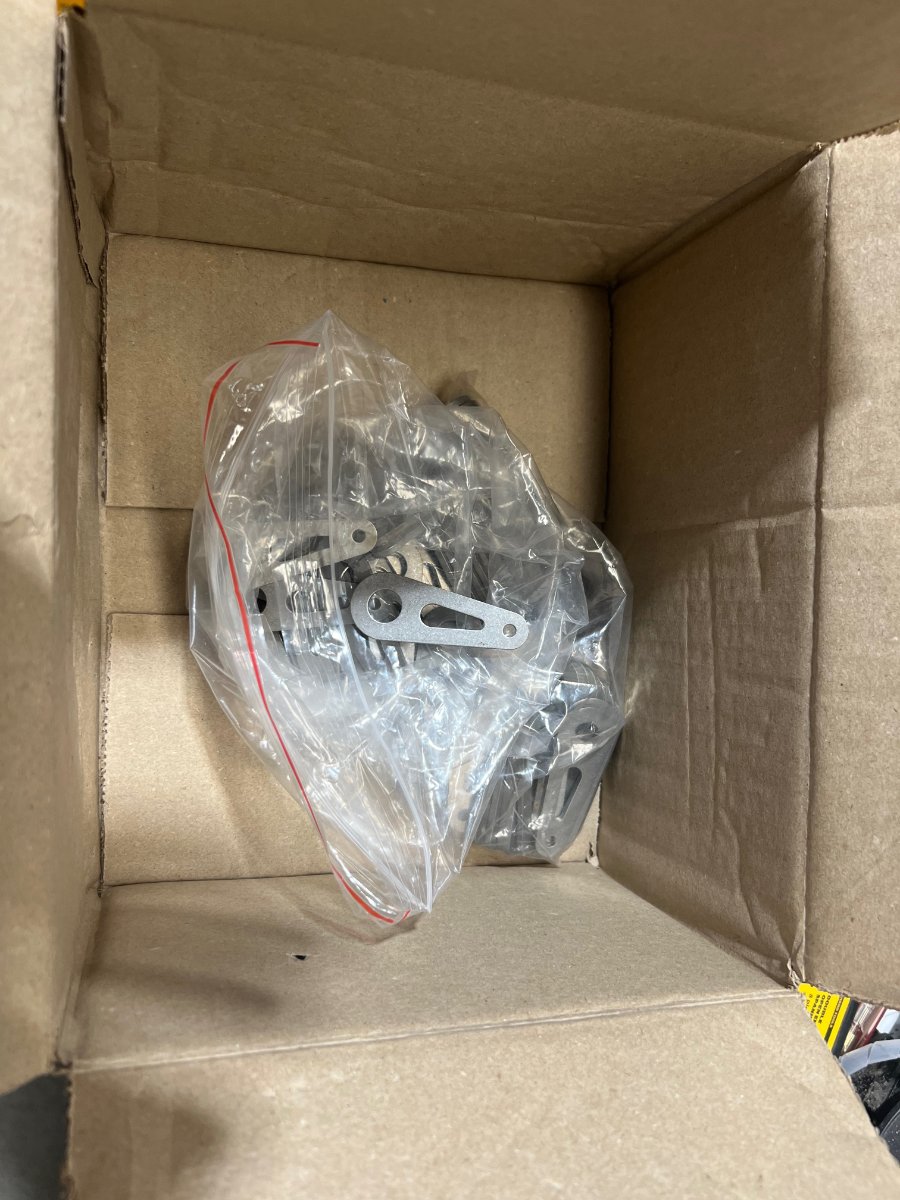
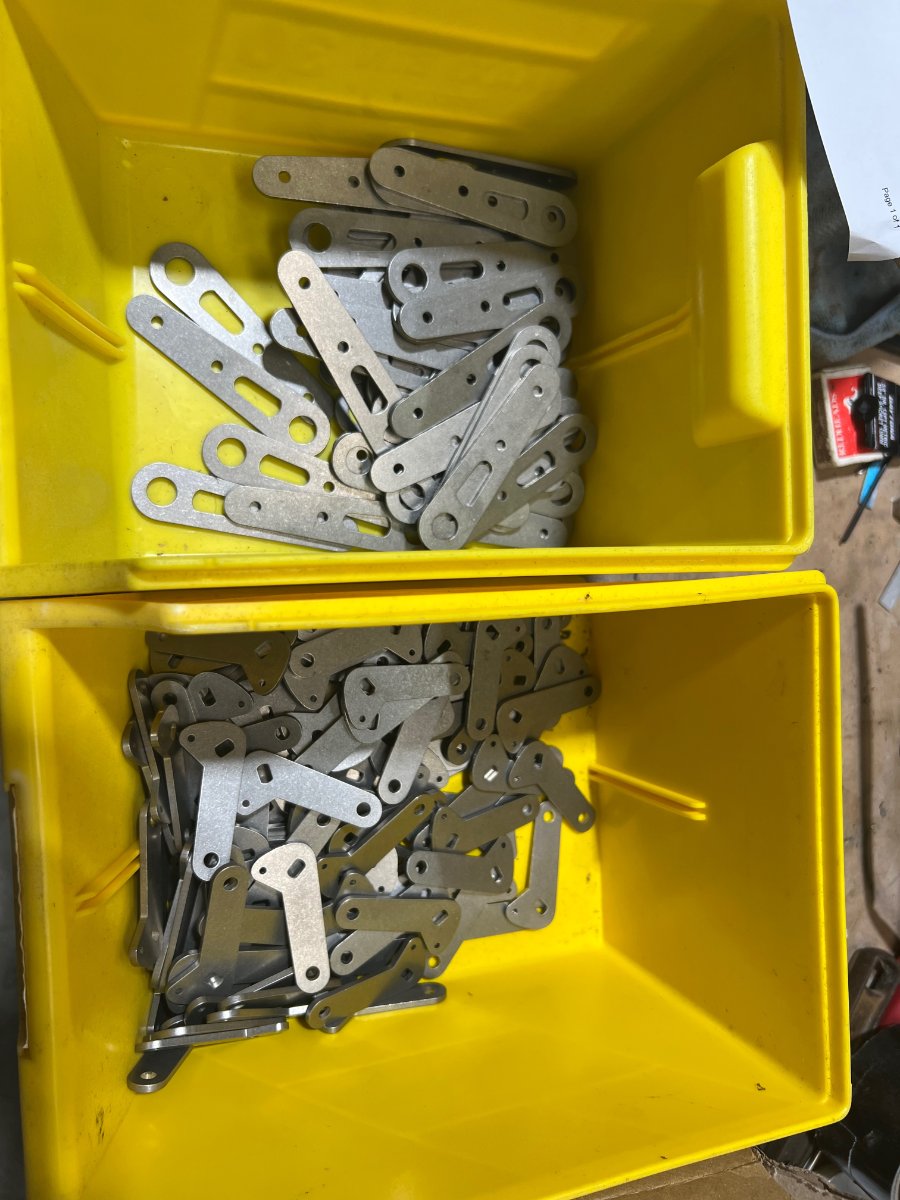
Had lots of stuff going on in the personal life lately and havent had a lot of time for Mabel. This weekend I have finally managed to complete some important tasks. A couple of weeks ago we got the exhaust system modified so its a nice fit with room for the water circuit and oil..also I dont have to remove the front left header pipe now to change the oil filter During last week the hooks for the springs on the two modified exhaust headers were tigged on also made the stainless rings for the EGT sensors they are also tigged on as well and I have finally fitted the exhaust to its final position. I decided I really like this corrogated stainless flexible hose. it is thicker than the ICP stuff they supply and I feel more comfortable with it. So the water circuit is fitted with it and now the oil circuit. The oil was a bit problematic trying to get hose that fits nicely over the 14.2mm outer diameter of the hose. It needed to be squeezed down to about 13mm to fit the good quaility oil hose I like to use and of course this stuff becomes the joiners. I used a collet chuck set from my CNC machine and used it to crimp down the tube to a size that I can get into the oil hose. It flattens the round ridges to get it to size but I did some tests and it does not affect its strength at all. Got a nice water fitting from Danny's stash pile of stuff so I could get a water temperature sensor in it and that is now fitted. I soldered a silicone wire... the stuff I use for my CDI modules onto the base adaptor so I can just earth that to the engine block so it works properly. Have been wiring the dash and just need to get the headsets run through and fitted to behind the PAX were I will have my fuel switch as like before in the Girlfriend but its a different tank system so only have 2 switches not 4 Concentrating on getting all the wiring from the engine side to the firewall plug then I can wire through to the RDAC and will be almost ready to start the big bore engine Finally got the production version parts in for the throttle mods and they are pretty nice. they tumbled all the parts so look really nice. Also my old tig is pretty stuffed now so lashed out and bought a new one...and ohhhh its nice...one of these automatic setup ones..works a treat. Now I have to spend a few hours in front of my hydraulic press to get all these to shape
-
Caboolture was blasted about ten years ago on this site by Qerty, an exerienced pilot who flew in on a leg of a holday trip and found aircraft all over the place in the circuit, sub standard radio, gliders actually parked on the strip ALA working on them, with no attempt to move them, and radio standards that were not up to scratch. Well not strictly correct or accurate. Radio??.. YCAB has only just been made mandatory about 18 months ago Gliders on the strip?..just doesnt happen. Infact glider ops are actually made OUTSIDE the full runway side markers and never take place anywhere else and its been that way for the 12 years I have operated at Ycab The issue at Ycab is just too many aircraft ops of all different types. The Ops manual is currently being rewitten and almost finished YCAB and YCDR are on the same frequency as so was Redcliffe back then. Redcliffe got a freq change about 8 years or so ago but that creates problems because they forget to change frequencies when they traverse our airspace which is close to theirs on the way up the coast or over to Moreton Island. YCDR runways were the same numbers as ours 12/30..we tried to get a frequency change but CASA and ASA told us no. So we changed the runway headings to 11/29 as the confusion beytween operating areas was terrible. You would hear a aircraft call the runway but it was at YCDR not YCAB..now its reasonable but hetrodynes are still massive as Caloundra is reasonably busy as well now. YCDR is only about 15nm from YCAB Pretty much all of those accidents were pilot error and most were very experienced pilots inc one that had 15000 hrs plus. It had nothing to do with ops at YCAB..... all pilot error or mechanical failure so you dont get to play that card Turbo
-
He was probably using his experience to avoid you..just saying. We never get reports about tug pilots ops but plenty of reports on normal pilots and aircraft ops or should I say inops. Airmanship is lacking now days and its very visible. I think this all goes back to the training given now. Its not like it used to be when I started flying back in the mid 1980's. Airmanship was a big part of training. It now seems to be lost. Maybe I might be a old fuddy duddy but there are plenty of people that go and watch the comedy on the boat ramp scenario on sunday mornings. One of the issues is the airfield is now so busy but that still does not exemplify the situation. Students and low time pilots need to be more aware of what they are doing and to me it just doesnt seem to be happening. I am no expert by any means but when I fly I try to make sure I know where everyone is in the circuit by eye and radio. I have had to take exvasive action a few times simply from other pilots not looking or listening.
-
Manual over electric any day...I hated electric flaps on the GA aircraft I flew...I have done a lot of glider flying and they are manual flaps and airbrakes and all the ultralights I have flown are manual flaps...manual is far better than electric any day
- 33 replies
-
- 3
-

-

-
- manual flaps
- electric flaps
- (and 1 more)
-
The pistons will come out easily..but the piston itself is not big enough thats why when your pads get low the bloody piston can come out
-
He isnt sure about the big bore version..he offered me a kit but I would probably have to do other stuff to it...getting the compression right too is another thing so would need sparer rings for the heads to lower compression Our conversation is below. But I have had good feedback from Gyro guys about his conversions. I have supplied my replacement CDI's to the gyro guys I gather you want to put it in a Hornet. I had a guy drop into my farm with a Hornet with a std 912ULS..the perfomance wasnt that great..it does need about 20 more horses and it would be a great aircraft Hi Mark, This would be a one off. I have only done testing on the standard 100 hp with the turbo. Also other considerations like the bore diameter and the current compression ratio would have to calculated. Other companies won't turbo the big bore so I couldn't guarantee how well the engine would hold up. Can you give me some more info on the engine like cylinder bore diameter compression ratio and if the camshaft is standard? Thanks Steve Hi Steve The bore is 4mm bigger and is 1484 cc once fitted. I believe the compression ratio is the same. The camshaft is std. Its basically just replacing the pots and pistons which are 4mm bigger in size. I had the crank welded and the engine has been totally balanced. I understand the differences in piston load etc although the piston speed is the same as there is no difference in the stroke of course. Hi Mark. I could offer you a turbo conversation kit If you have a mechanic to do the conversion. there may be differences in some parts you would have to work out as you go.
-
I asked him about doing a turbo for a big bore kitted 912 ULS which is a base power of 114hp turbo would bring it up another 15 or 20hp. He hasnt done one like that. Mark
-
Sometimes you need to put a washer infront of the piston. when the pads get low the piston will pop out
-
There is a guy in Melbourne who does a lot of 912ULS turbo conversions. Mainly for the gyro guys. Everything I have seen he has all good reports Mark
-
yes Mike it goes back quite a long way..but RAA have never said anything against it..they just seem to refuse to take up the topic or support AOPA in any way on it....they just keep their mouth shut...for obvious reasons
-
KG. I think what it is ...that RAAUS has not supported AOPA in their push for it. They basically have stayed quiet everytime AOPA has asked them
-
Palmyra YPYA airfield celebrated 20 years
Kyle Communications replied to Blueadventures's topic in AUS/NZ General Discussion
My boss was up there a few weeks ago with a drag weekend -
My Savannah S model rebuild Blog
Kyle Communications replied to Kyle Communications's topic in Savannah
I just want to get her finished and flying 🙂 -
Raeburn..very glad you both are ok
-
My Savannah S model rebuild Blog
Kyle Communications replied to Kyle Communications's topic in Savannah
Thanks Bob..I hadnt actually looked into that and it makes sense..also will be much easier to install then..the pilot side allows much easier access