
Luca Milesi
-
Posts
21 -
Joined
-
Last visited
Content Type
Profiles
Forums
Gallery
Downloads
Blogs
Events
Store
Aircraft
Resources
Tutorials
Articles
Classifieds
Movies
Books
Community Map
Quizzes
Videos Directory
Posts posted by Luca Milesi
-
-
-
Dear Savannah builders and pilots,
the construction of my plane slowly progresses even though the great work of COVID testing and vaccinations in my pharmacy keeps me very busy.
I'm sorting out the problem of the mounts for the Dynon autopilot servos (thanks to you all for pictures and advice) and now I'd like to take on a new challenge: Mounting a rotax 914 in my Savannah.In the swiss Alps we often
 fly up to 13.000 - 15.000 ft.
Kyle told me about some Savannahs with the 914 in Australia.
What are the biggest problems?
Engine Castle?
Weight and balance?
Fuel return lines?
Anything else?
I would be very grateful for advice.
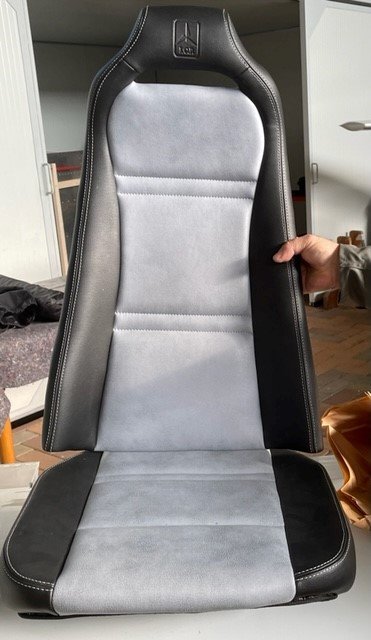
In the meantime I send you a picture of the new seats received today from ICP
Blue skies
Luca-
 1
1
-
-
Thank you very much Kyle. I appreciate.
Greeting from Southern Switzerland.
Luca

-
Dear Kyle,
I thank you very much for your kindly answer. You are a great savannah expert and I always gladly read your posts on this site and also on facebook. your help is very important to me.
Greetings from the swiss alps.
Luca
-
No, because I stay between 10000 and 13000 ft no more that 30 minutes.
Blue skies
Luca
-
Hi everyone,
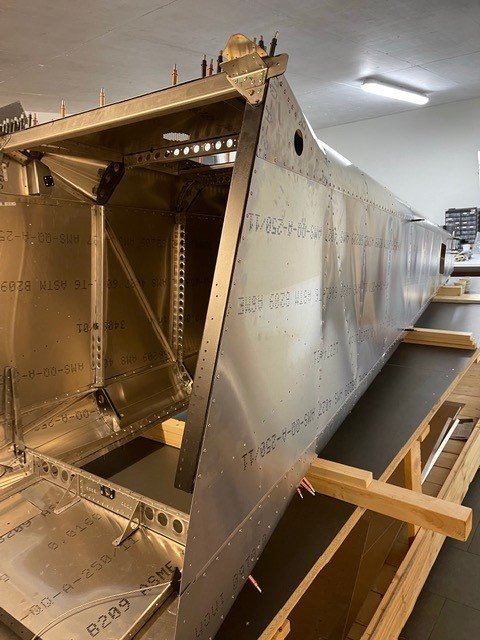
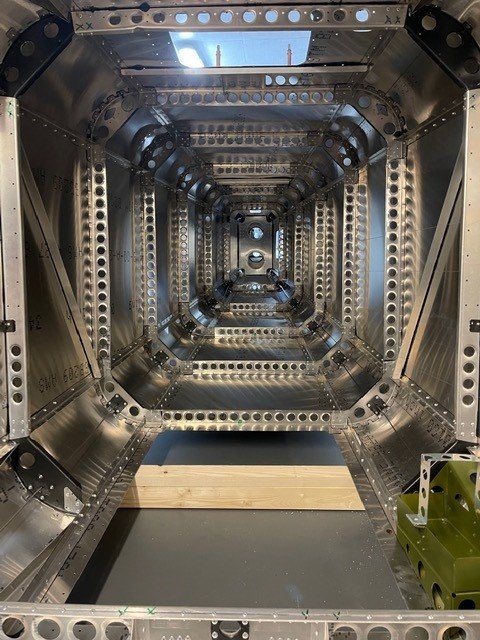
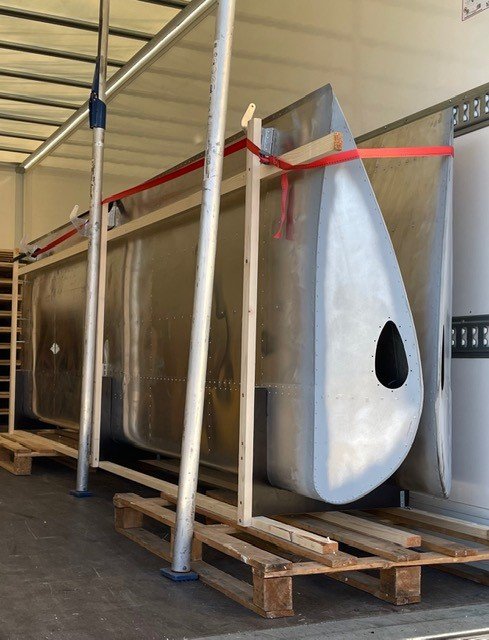
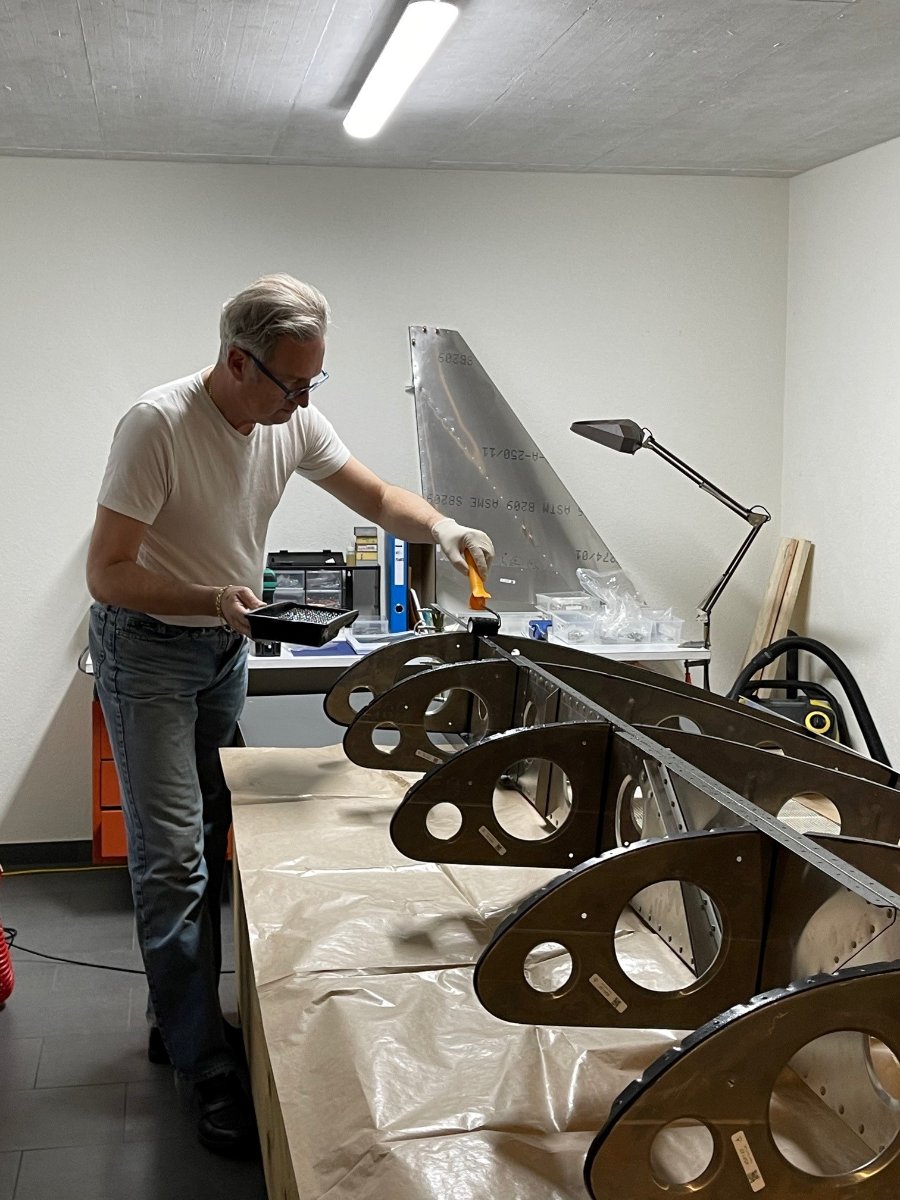
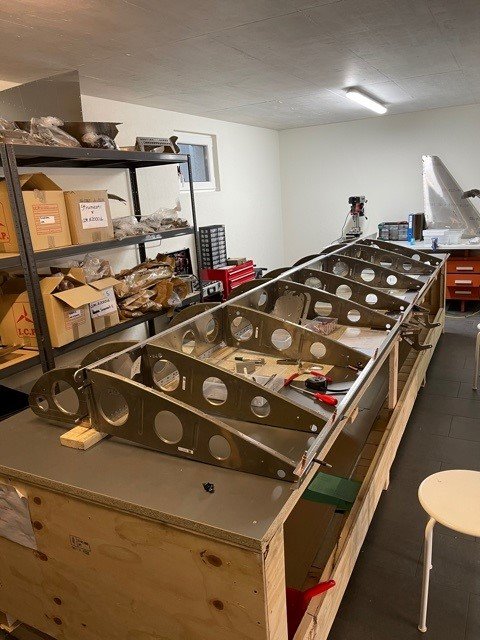
In the last 9 months I have managed to put 400 hours into my project.I work full time at my pharmacy and the pandemic doesn't give me much respite.
I have added a couple of pictures of my work.
First I would like to thank you all for the always valuable advices.
And I also have 2 questions:
Has anyone installed a Rotax 914 in a Savannah yet?
I live in the Swiss Alps and we often have to do more than 10000 feet
I would also like to install a Dynon system with 2 axis autopilot.
Does anyone have any plans on the best solution for the installation of the 2 servos?
Thank you very much for your precious helpBest regards from Southern Switzerland
Luca
-
3
-
-
Thank you very much! Blue skies, Luca
-
IBob, thank you very much for your support. 🙏👍Without your advices I would have made some mistakes.
I appreciate very much😀
-
Not yet. I started with chapter 1 in the instruction: right wing.
-
An inexperienced pharmacist at work😂
-
1
-
-
Hello to everyone,
I need 😏 your invaluable help again
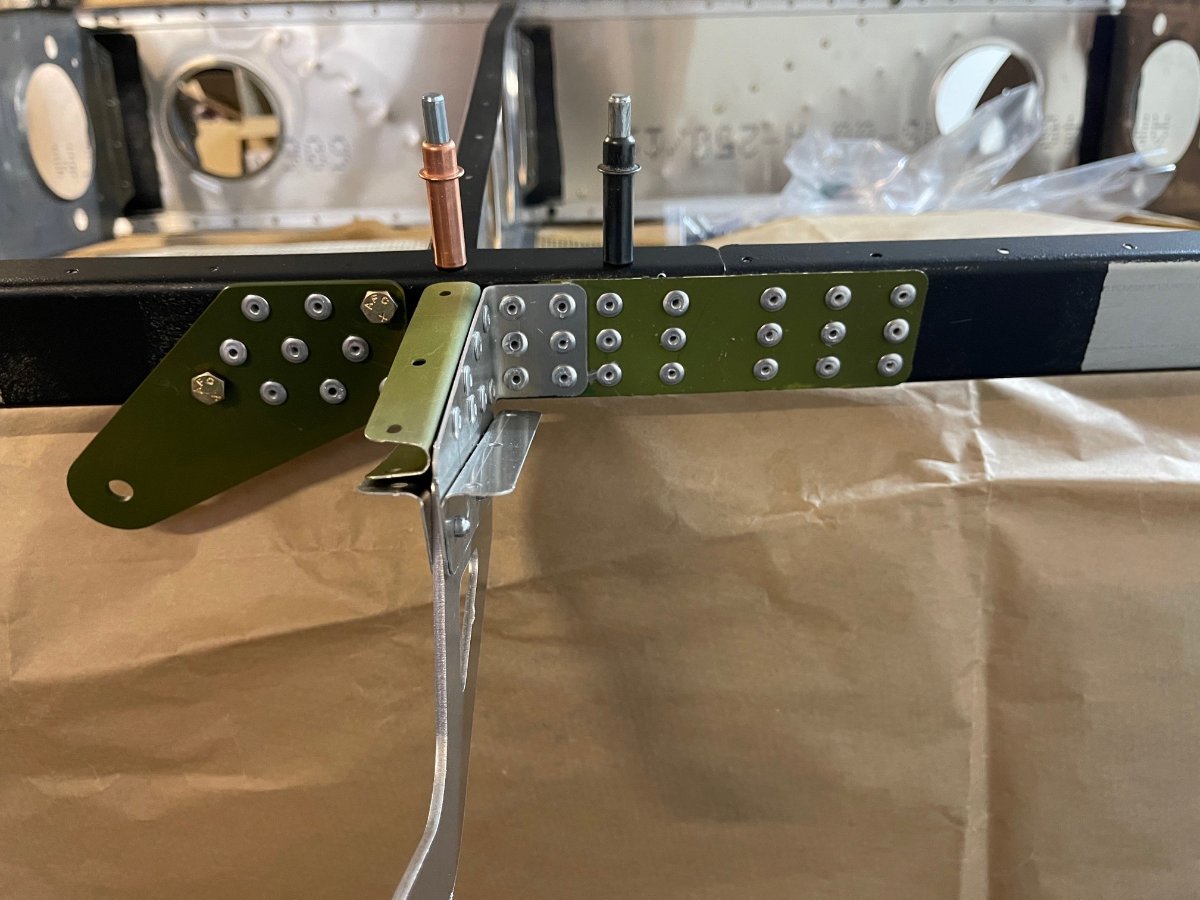
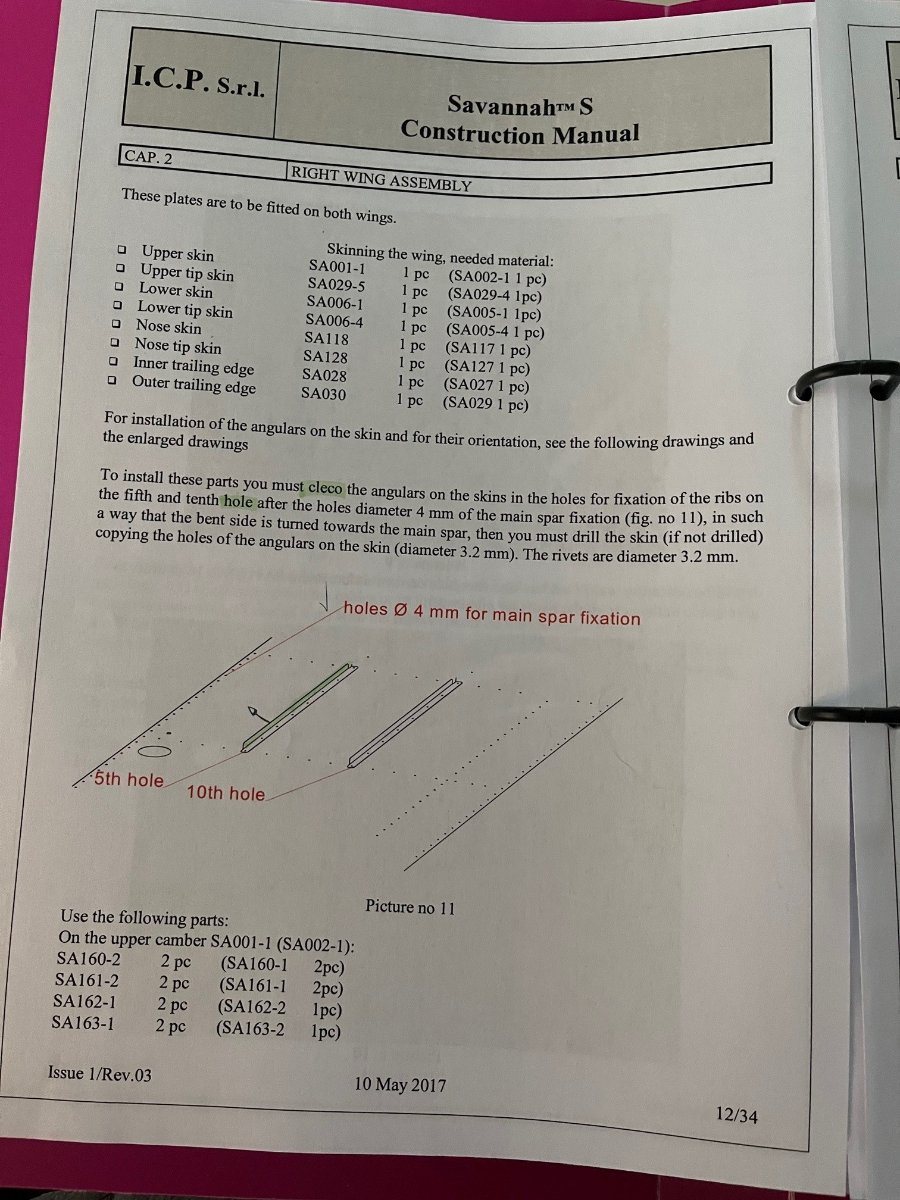
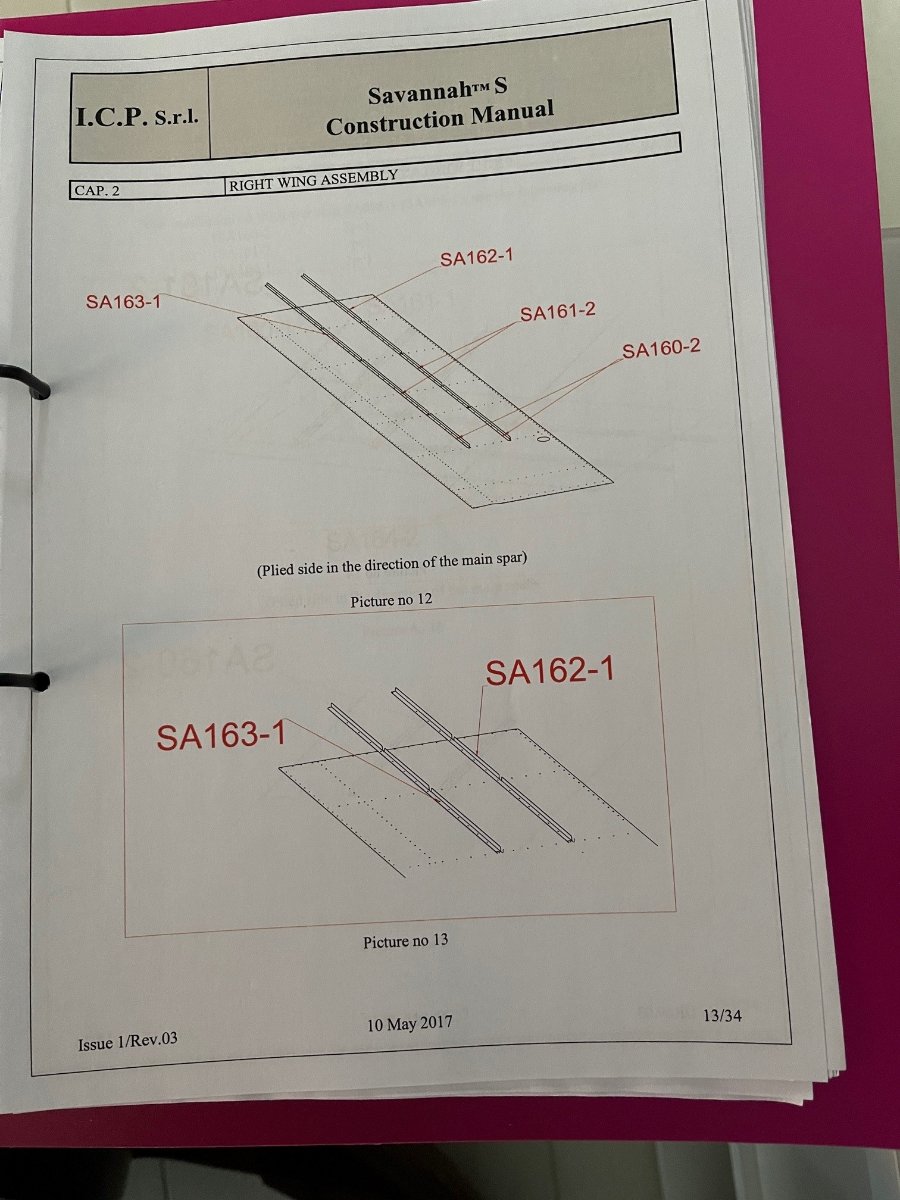
I m building my Savannah right wing but unfortunately the instructions that ICP provided to me (see pictures) are for the european model with single tanks while my model has the double tanks. I think that the angulars should not been placed at the same location. Or perhaps am I wrong?
Does anyone have the right instructions for the model with double tanks? That would very helpful to me.
Thnak you in advance and blue skies
Luca
-
1
-
-
Yes, Bob thank you very much for your valuable advice. The top and botton rivets that fasten the nose ribs have 4 mm holes and so I used here A5 rivets. The rest was 3.2 mm holes and I used A4 rivets. The ICP instructions are not always very precise.
I am very grateful for your support, with people like you to build is a joy😀🛩🔧
-
1
-
-
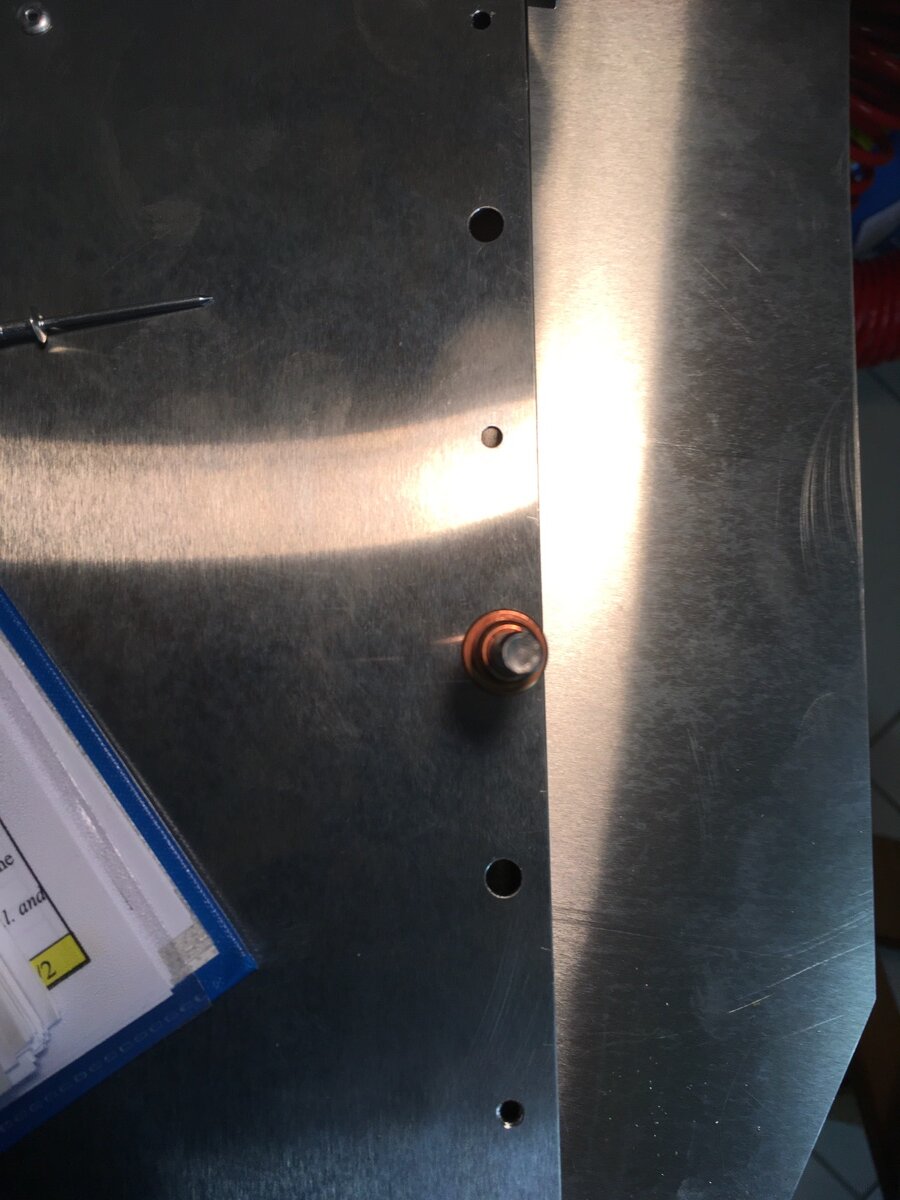
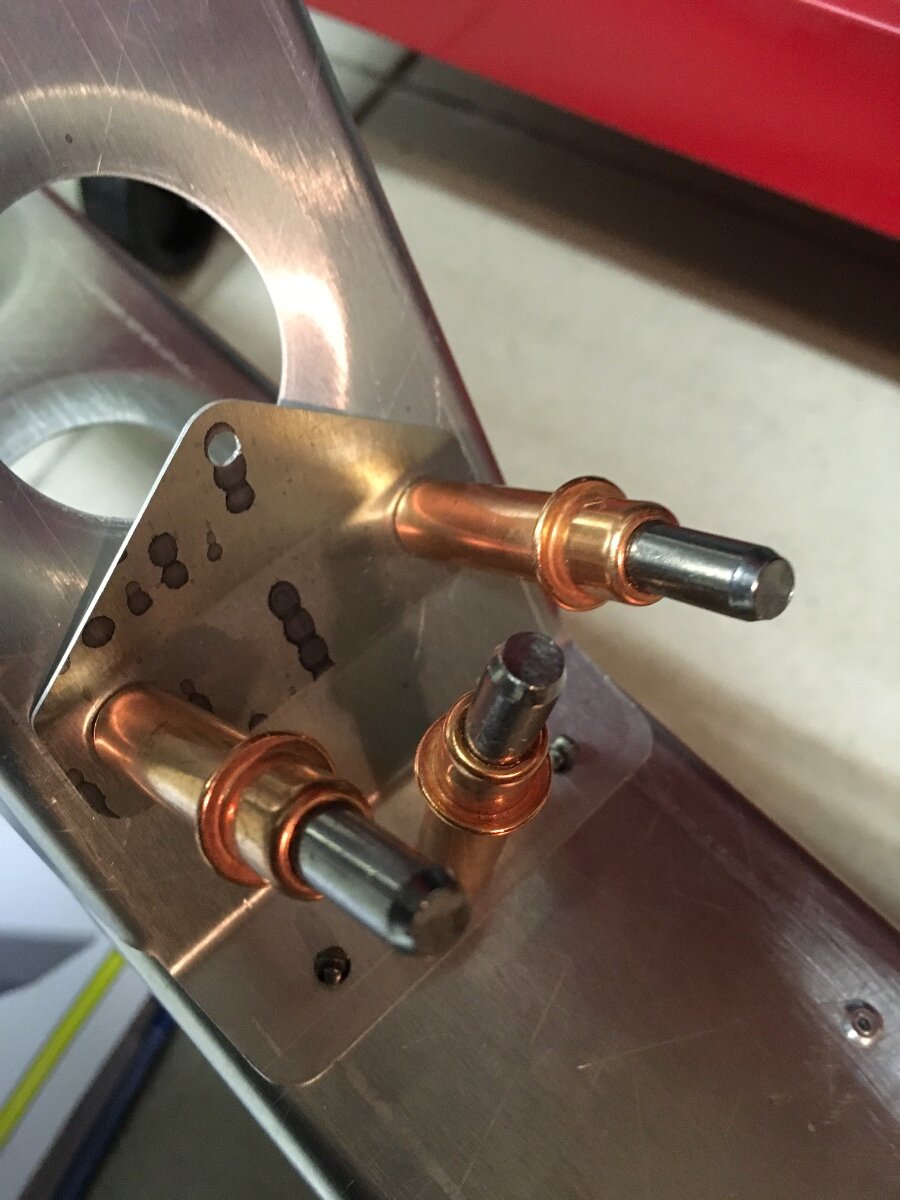
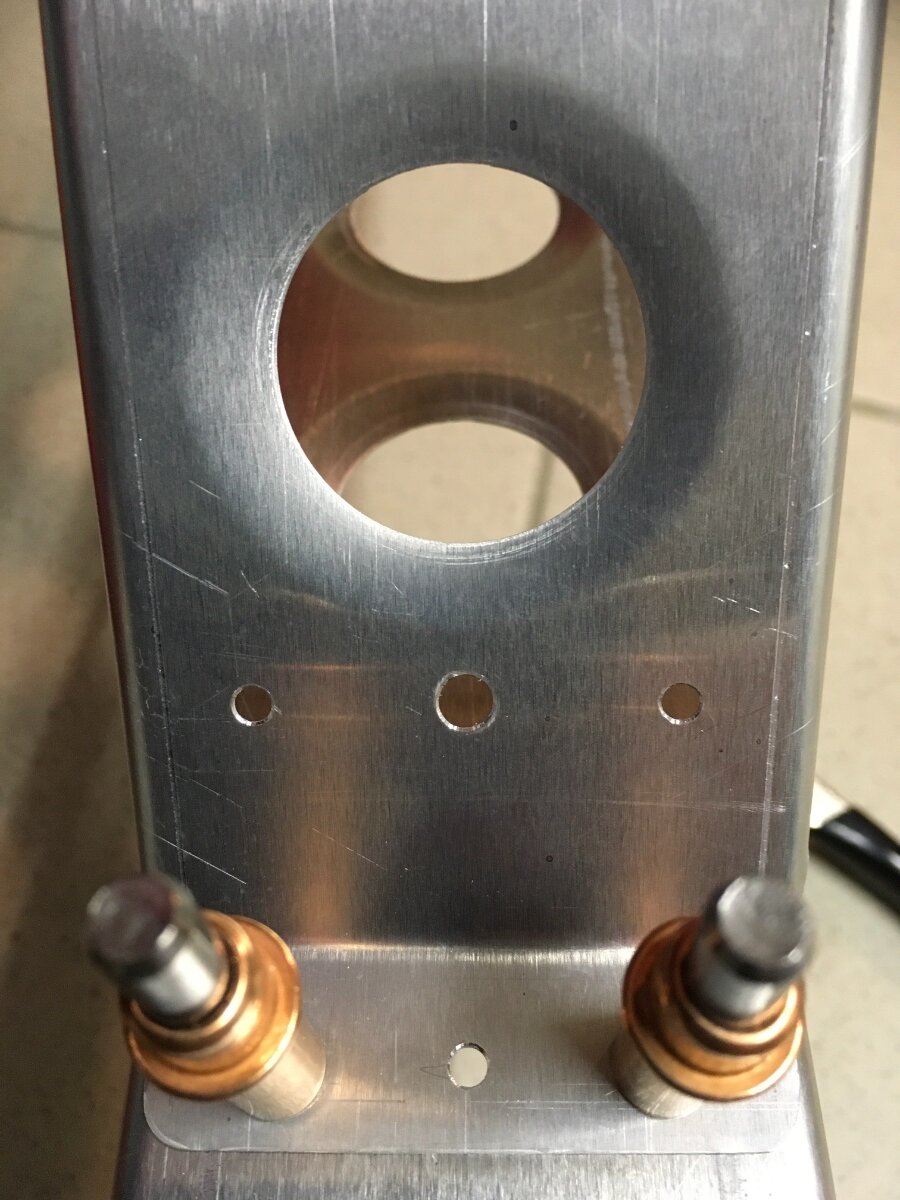
In the wing build instruction ICP write to use A5 rivets to fix ribs and longerons together. But there are some holes for A5 rivets and other for A4. Should I redrill all the 3.2 mm holes to 4 mm and set overall A5 rivets or should I follow the holesizes?
( that would mind to use A5 rivets for the 4 mm holes and A4 for the 3,2 mm)
And on the pictures below are the rivets correct pulled ?
I thank you very much for your help. I m a beginner 😢
-
I thank you very much fir your reply.
Yes, I have extra bought a tail kit and now I m making som experiments. The advices from the members in relation with my december thread was very interessant and helpful to me.
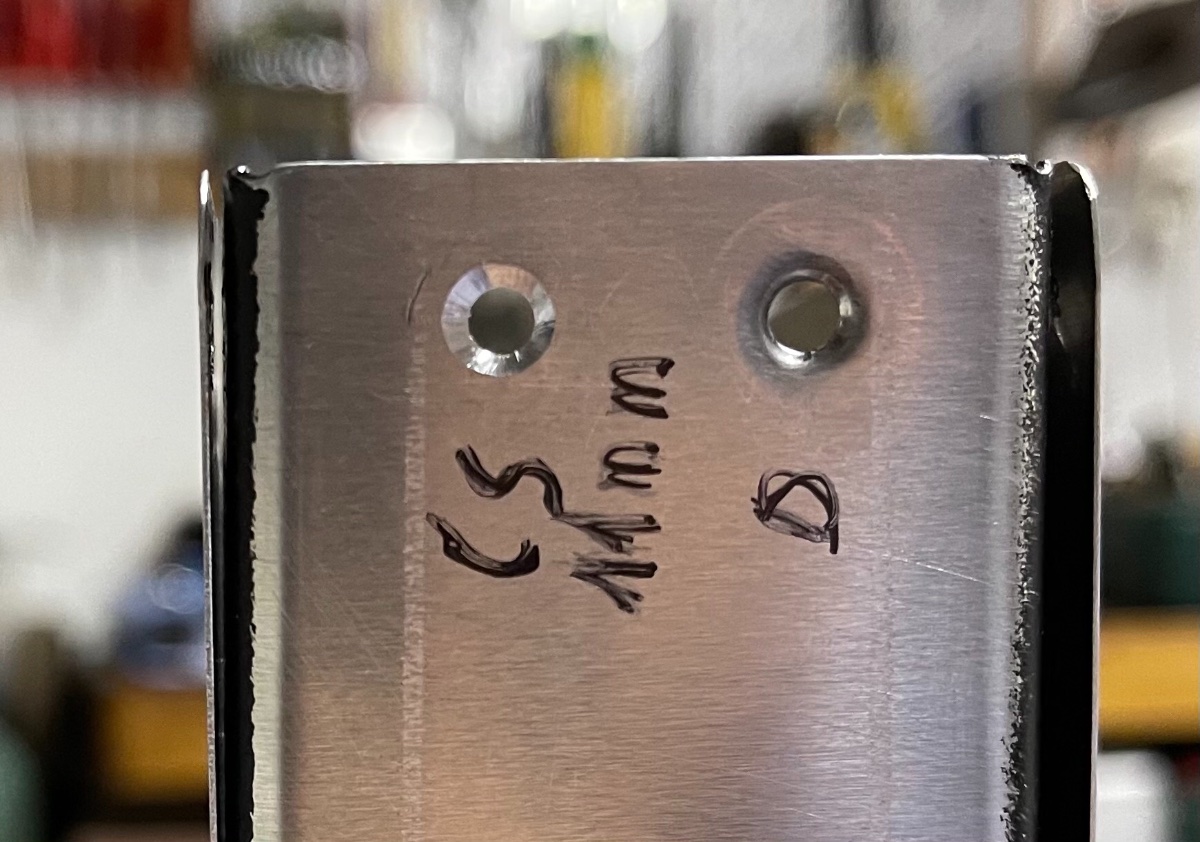
I countersinked the hole in the picture with a 11 mm drillbit driven by hand .
Blue Skies to all from south Switzerland
-
Thank you very much. I really appreciate your advices.
-
In one month I will start with the build of my Savannah
For some positions countersinking is required and I’m making some experiments with some techniques.
The first hole is countersunk with a 11 mm drillbit driven by hand
The second hole is dimpled
I also ordered some specials A4 rivets with countersinked head.
I m curious to see how they work.
Comments and advice are welcome
lucas
-
Thank you very much to all my new friends and Savannah specialists. I very appreciate your help😀
-
Good evenening to everyone,
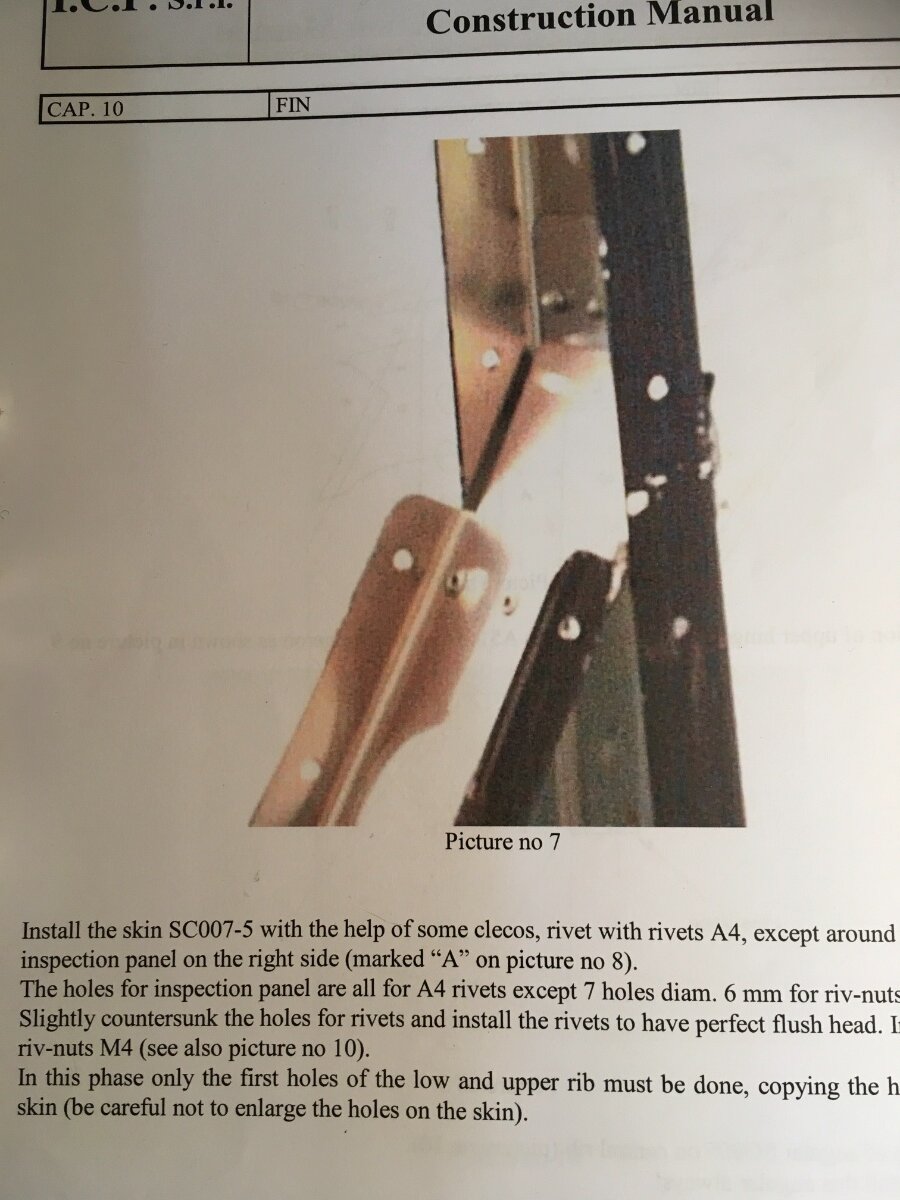
I have ordered a Savannah S kit and at the moment I m building (to make practice and exercise / I m a pharmacist ) a tail fin that I have bought separately. In the build instruction I read: Slightly countersink the holes for rivets and install the rivets to have perfect flush head.
How should I do that without weaking the very thin alumiunm sheet?
With a drill bit? Wich Dimension ? I have no idea.
Thank you very much in advance for any help.
Lucas from Switzerland
-
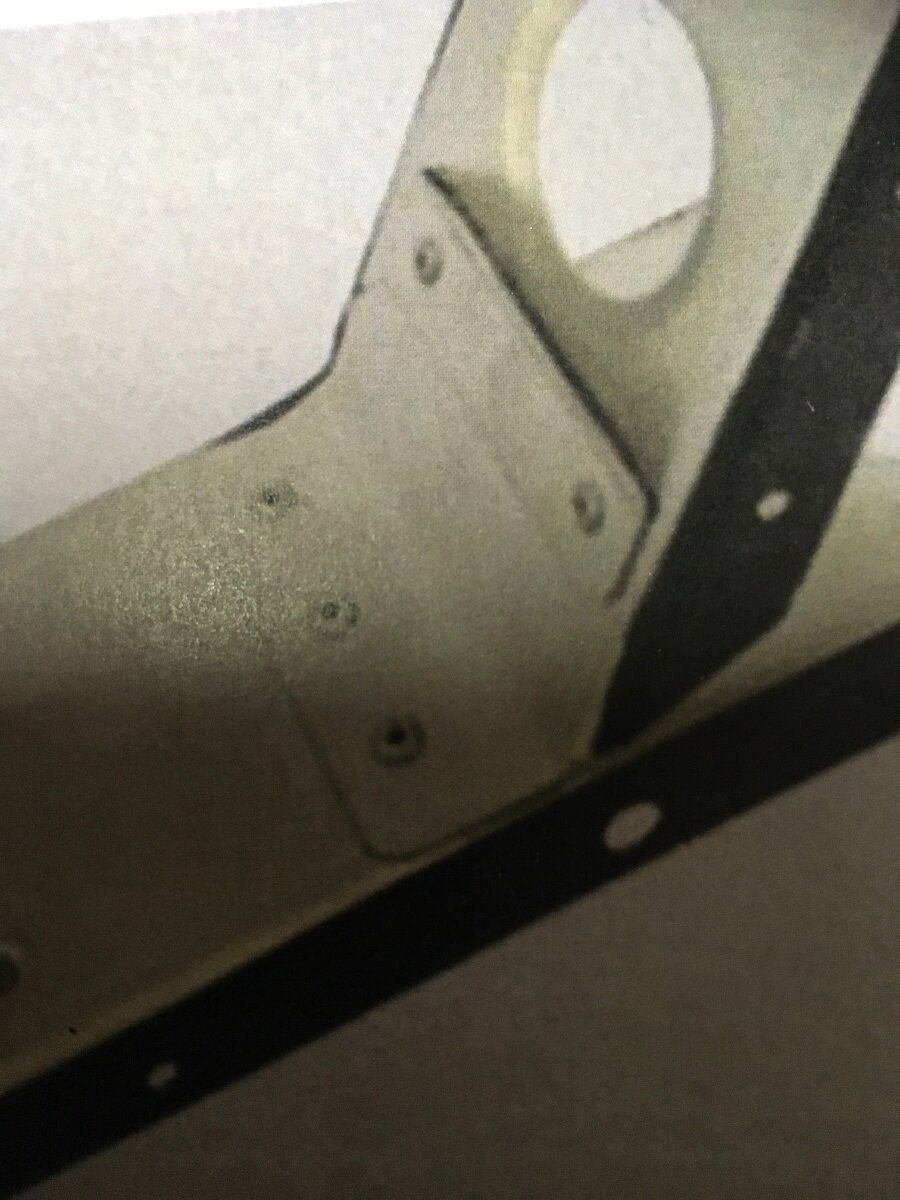
Hello IBob,
thank you very much for your help😀
You are very kind.
Is the position now correct?
Best regards from South Switzerland
Lucas -
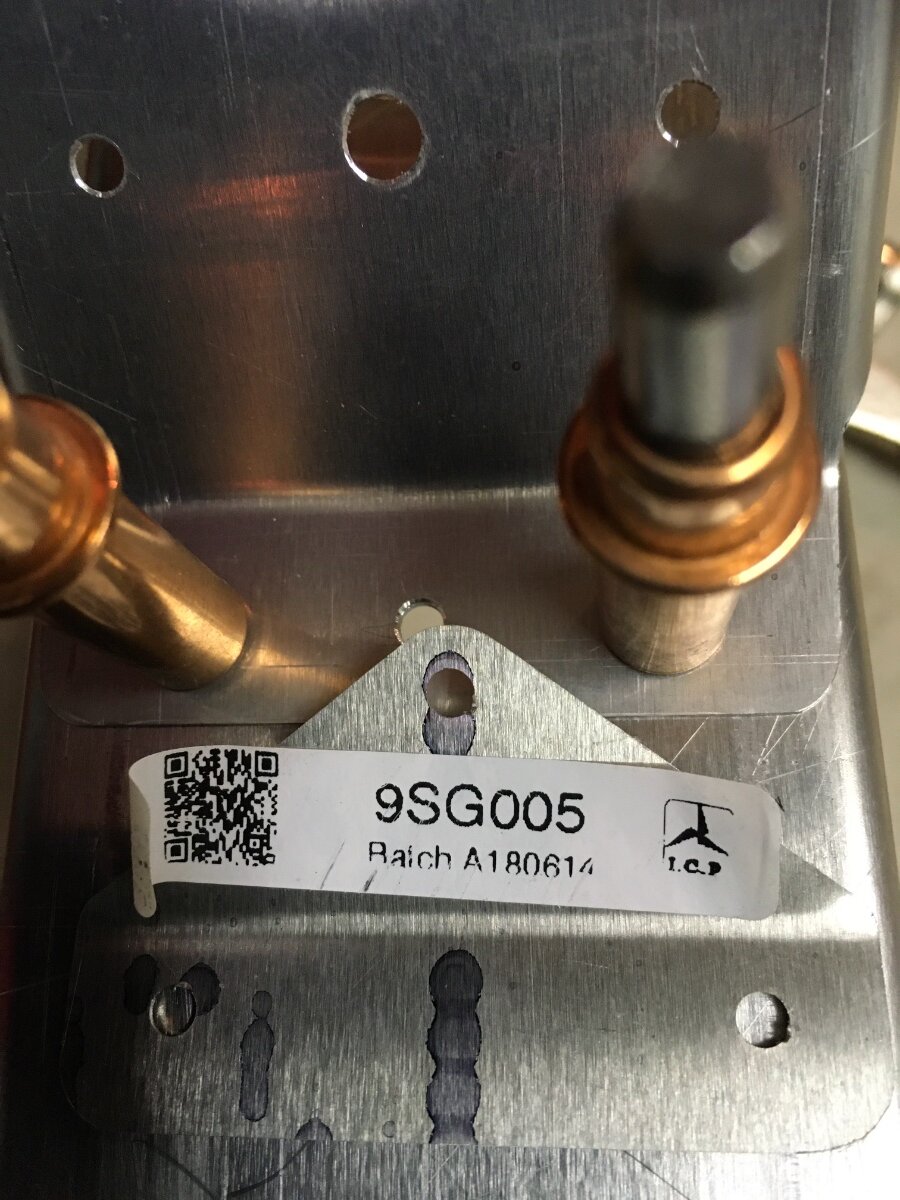
Hello to everyone,
I m a first time builder and I’ m doing practice with a fin kit that I extra buyed from ICP.
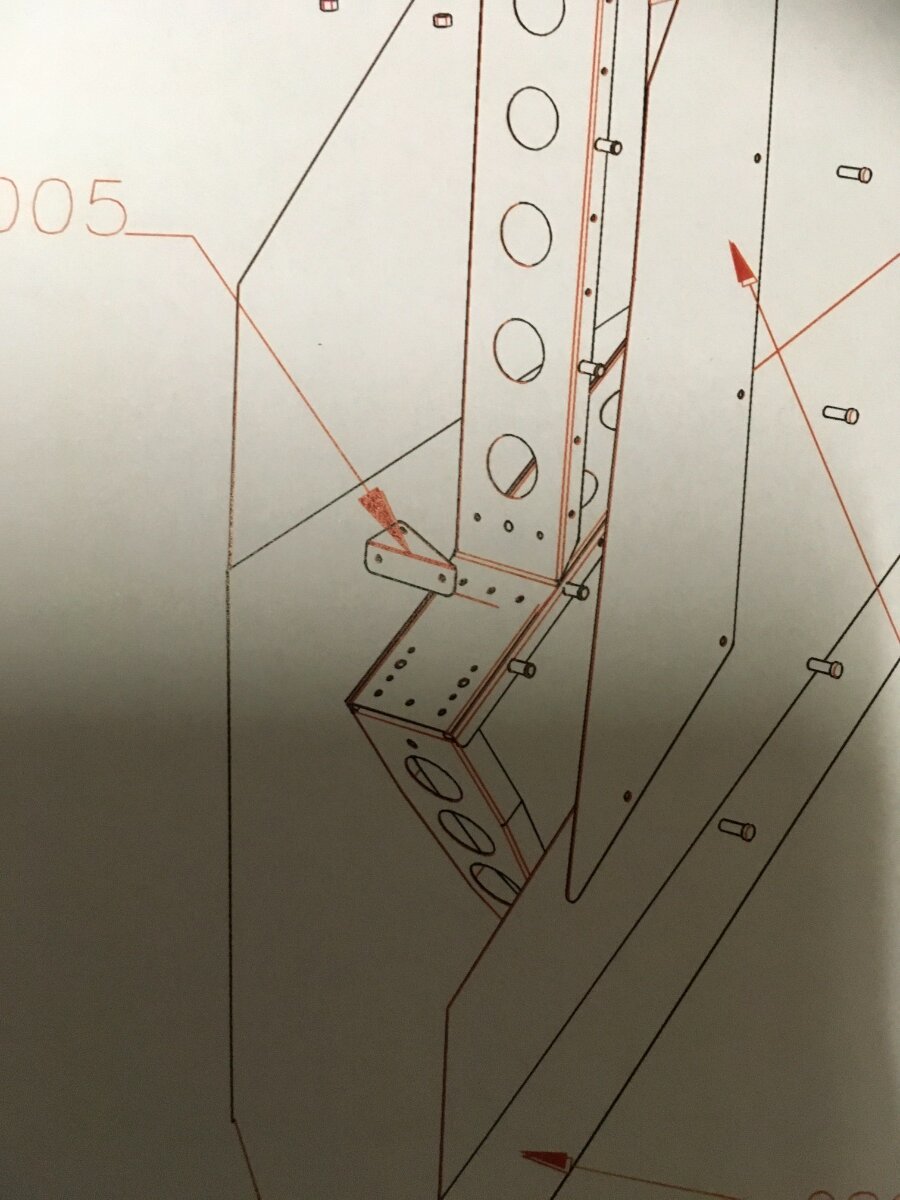
I don’t unterstand how to fix ( in which position) the angular SG 005. The manual and the enclosed pictures don’t help me.
Can everyone help me?
thank you very much in advance.
Luca from Switzerland


Rotax 914 turbo
in Savannah
Posted · Edited by Luca Milesi
Dear pilots and builders,
I live in the Swiss Alps and we are often flying over 10,000 ft and would really like to try to fit a Rotax 914 on my Savannah under construction.
Does anyone have any experience? Is the engine mount different?
What modifications are needed?
Any help is welcome.
Thanks and blue skies
Luca